LaserPecker L1 Pro review
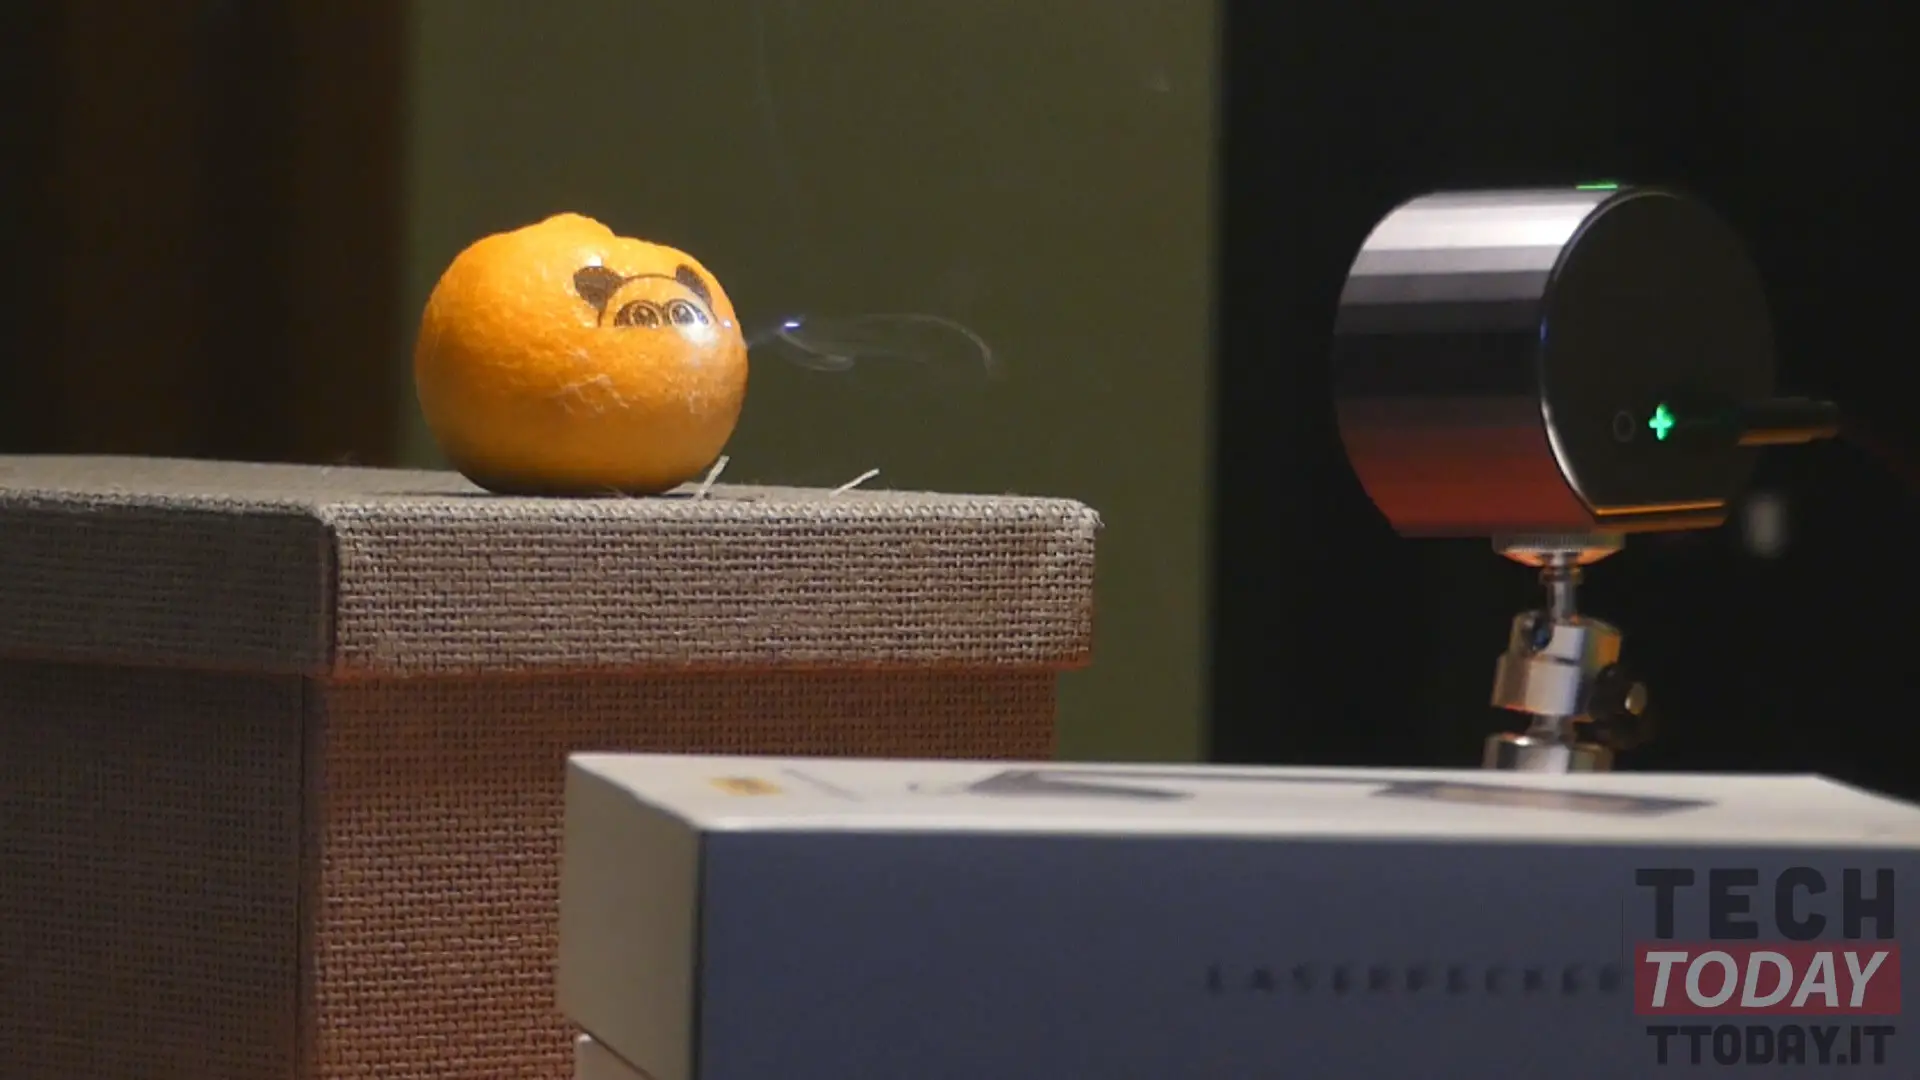
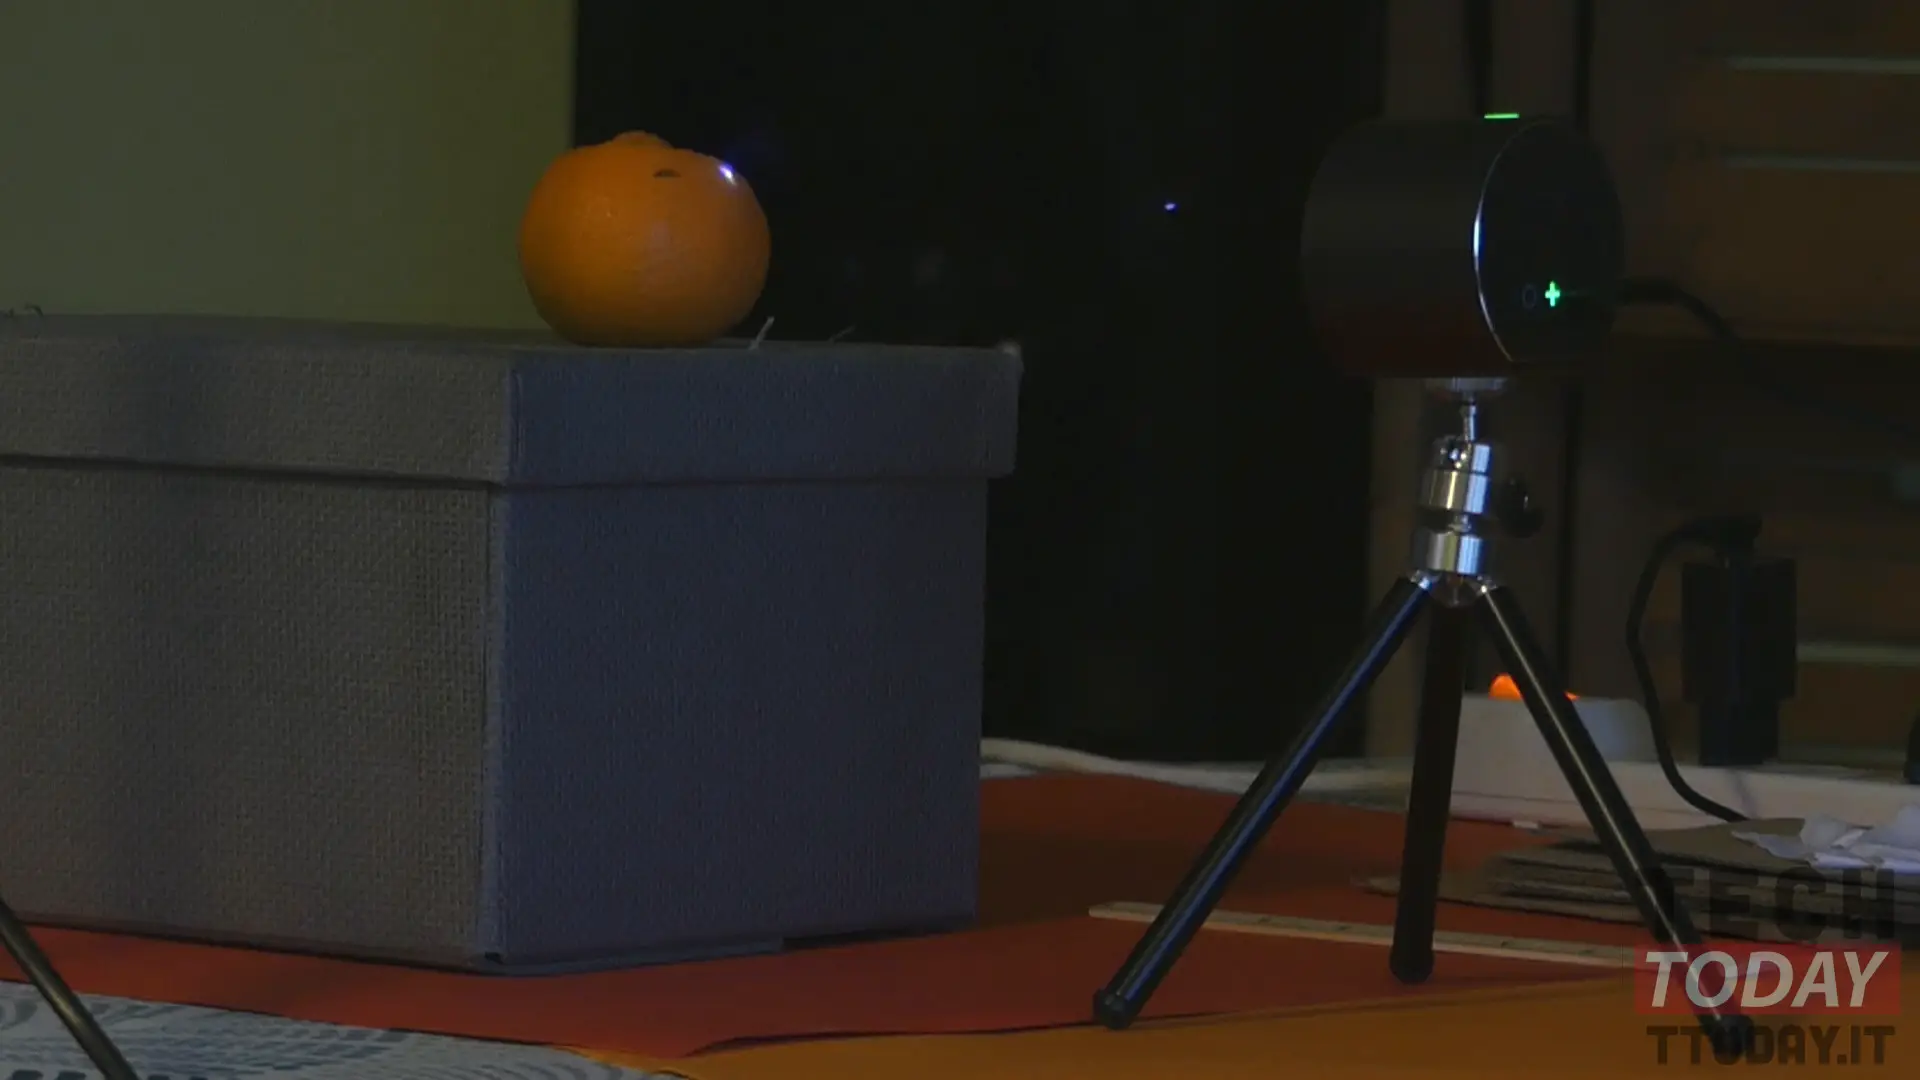
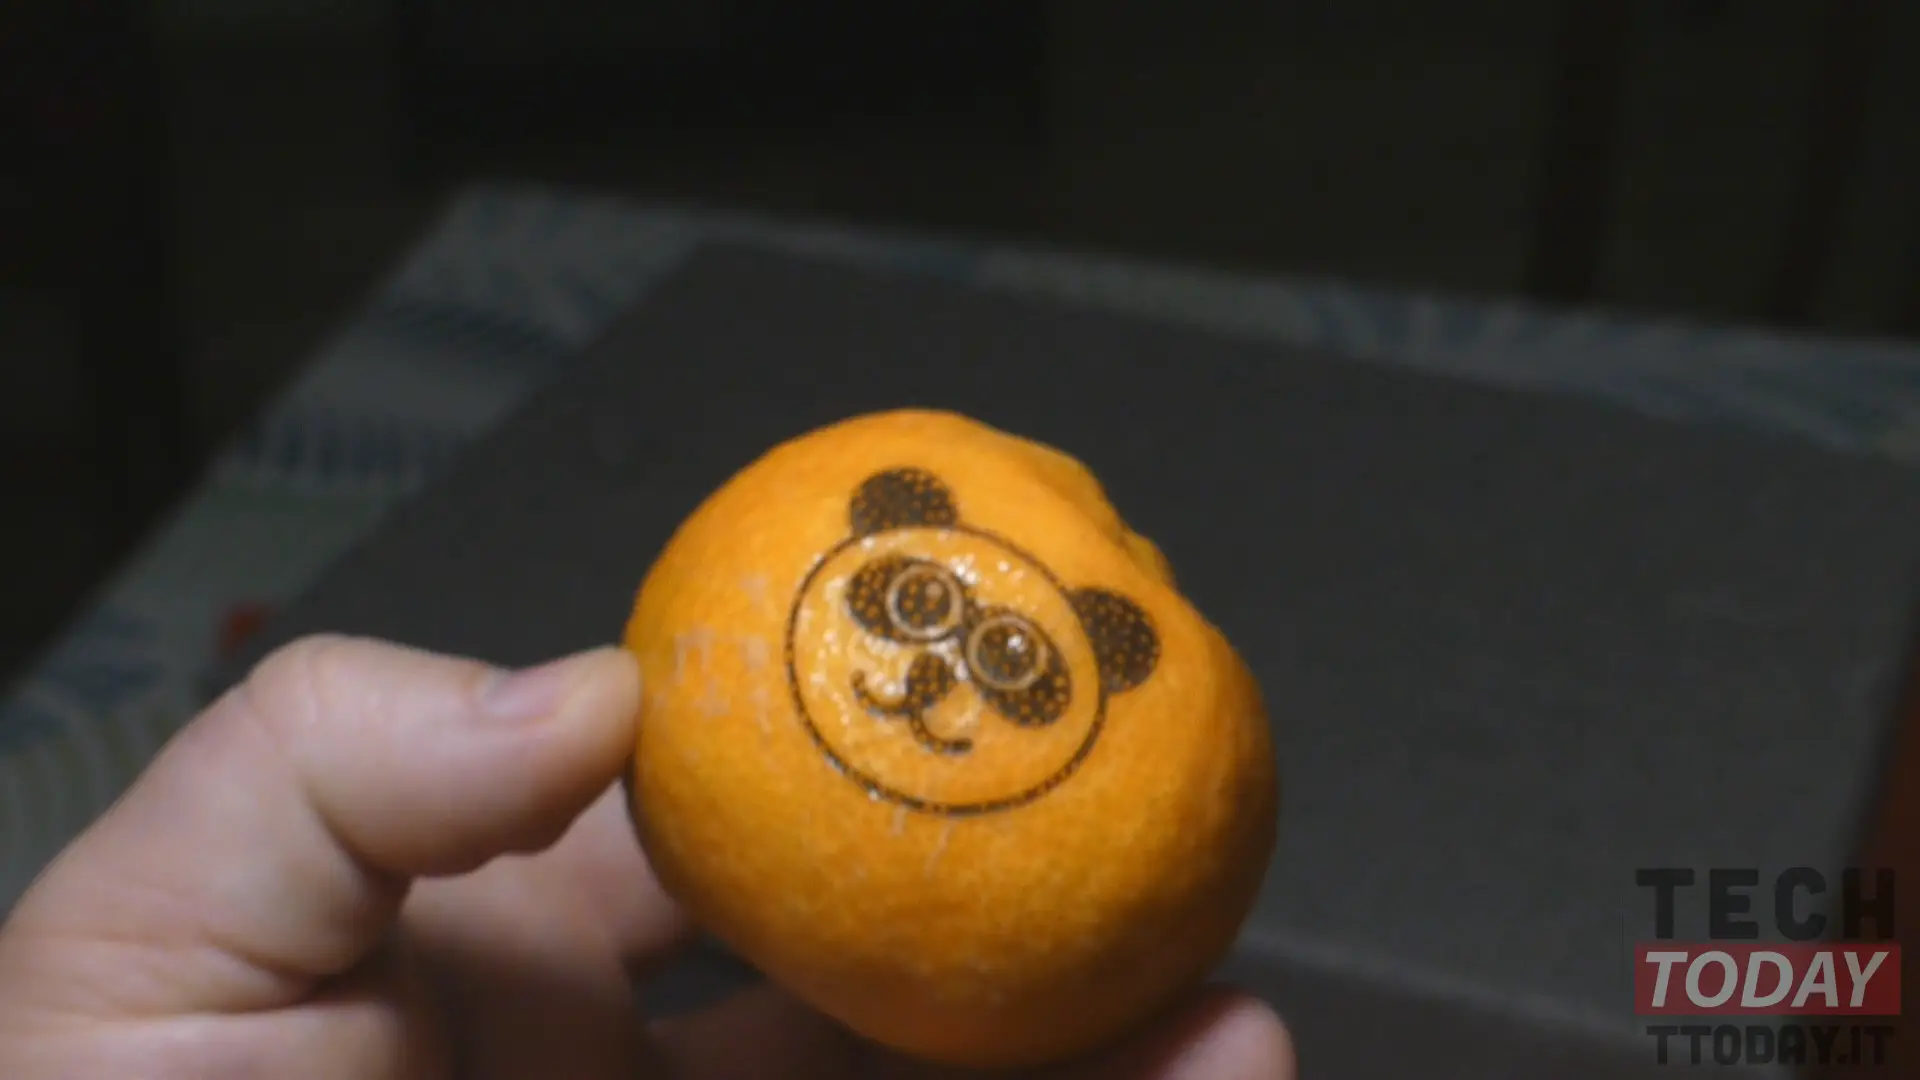
If you think that technology is made up of smartphones, wearables and TWS headphones only, you are wrong, because there are truly unique products and perhaps for this reason less "popular". But thanks to globalization, what were once niche products, now we can all access them and enjoy the joys of discovering something unique and to say the least. poco extraordinary. Okay, maybe I've talked too much but I want to confuse your ideas, wondering what a pair of underpants, a mandarin, a cardboard and a pair of TWS headphones have in common? To find out the answer we must introduce the protagonist of this review, or the LaserPecker L1 Pro engraver, which through a smartphone application, compatible with both Android and iOS systems, allows you to create small works of art, engraving the surface of many materials such as the peel of a fruit, but be careful when using it because we always talk about a product that uses a laser to engrave and therefore to be used with wisdom, but apart from caution the result obtained is very fun.


Let's start from the fact that the solution we propose is the most complete you can find on the store that kindly provided us with the sample, so you can possibly also evaluate the purchase of a single element rather than other solutions proposed by the online shop. Personally, we have received two distinct packages, one referring to the LaserPecker L1 Pro and the other to a complementary accessory of which in the course of the review we will explain the function and usefulness. Therefore in the first package we find the following equipment:
- LaserPecker L1 Pro;
- Wooden ruler;
- Manuals in English;
- Cards to carry out some tests;
- Mini tripod;
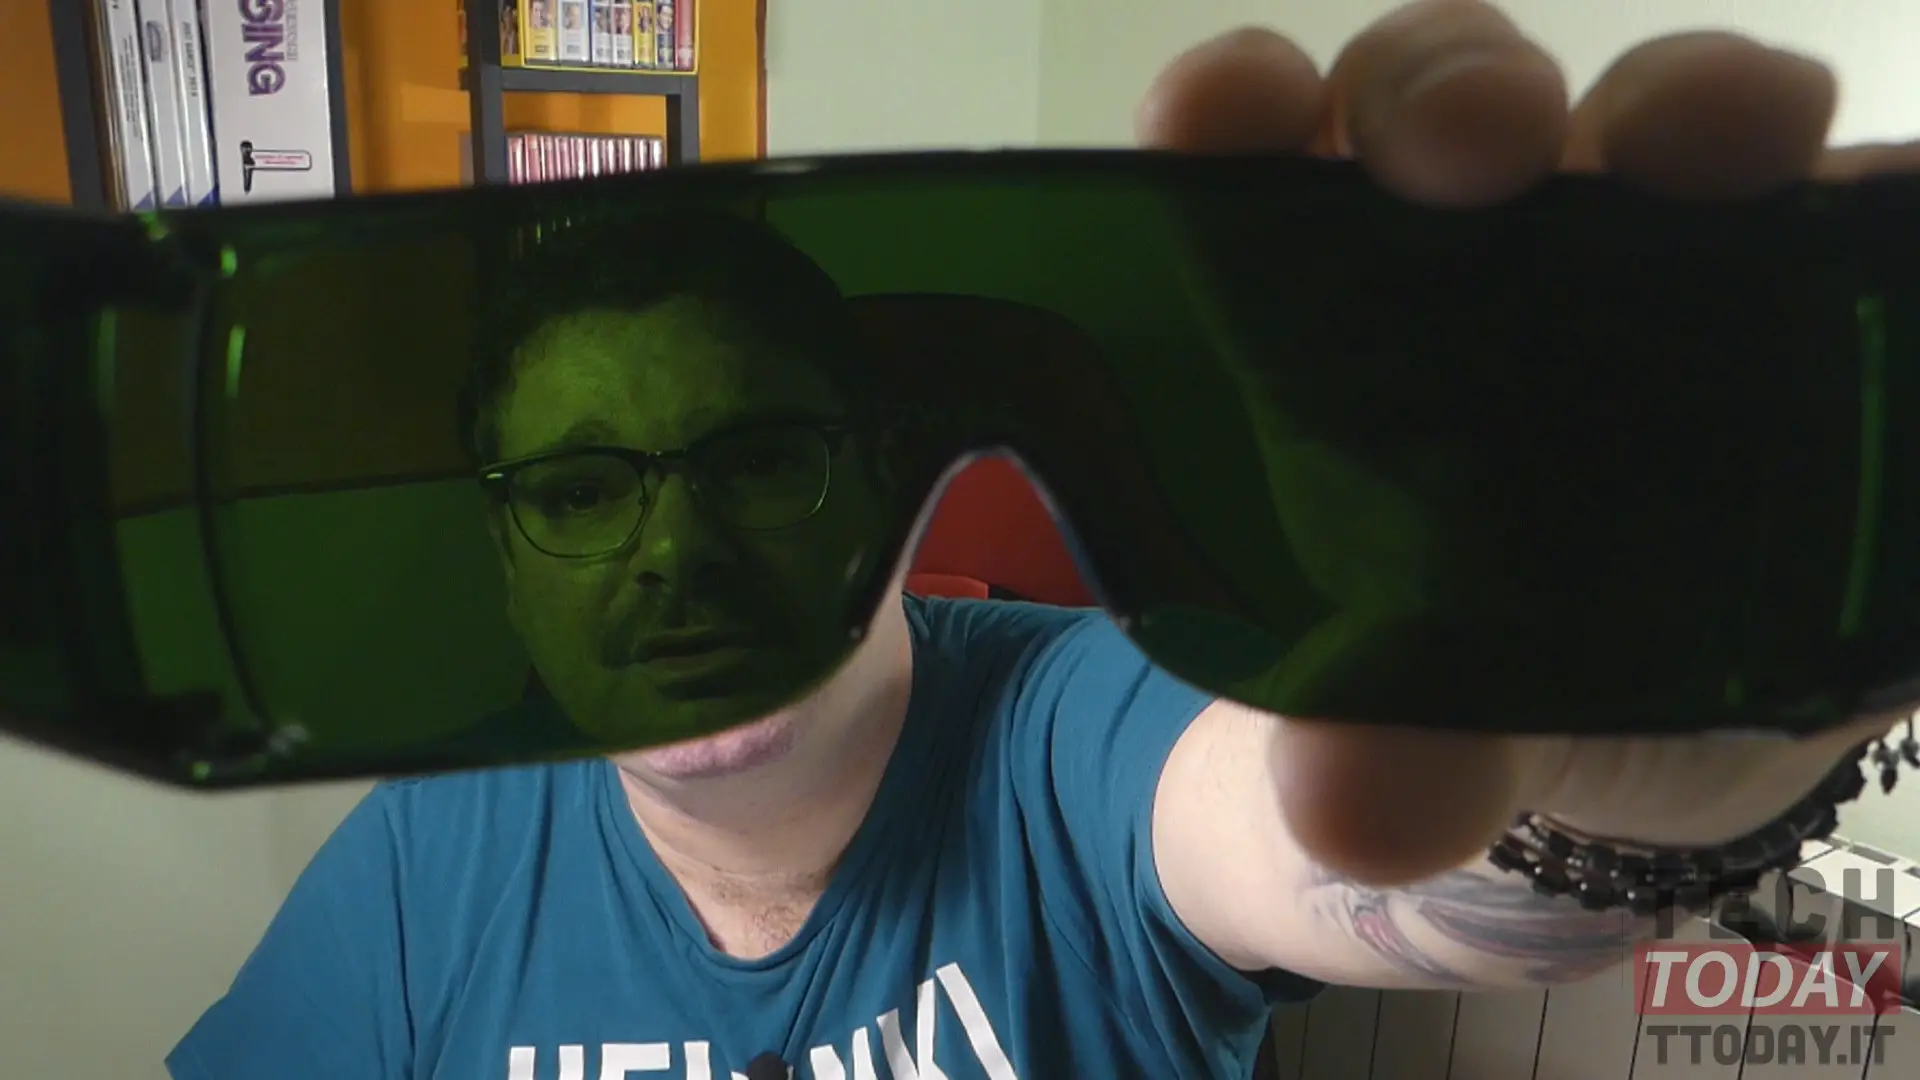
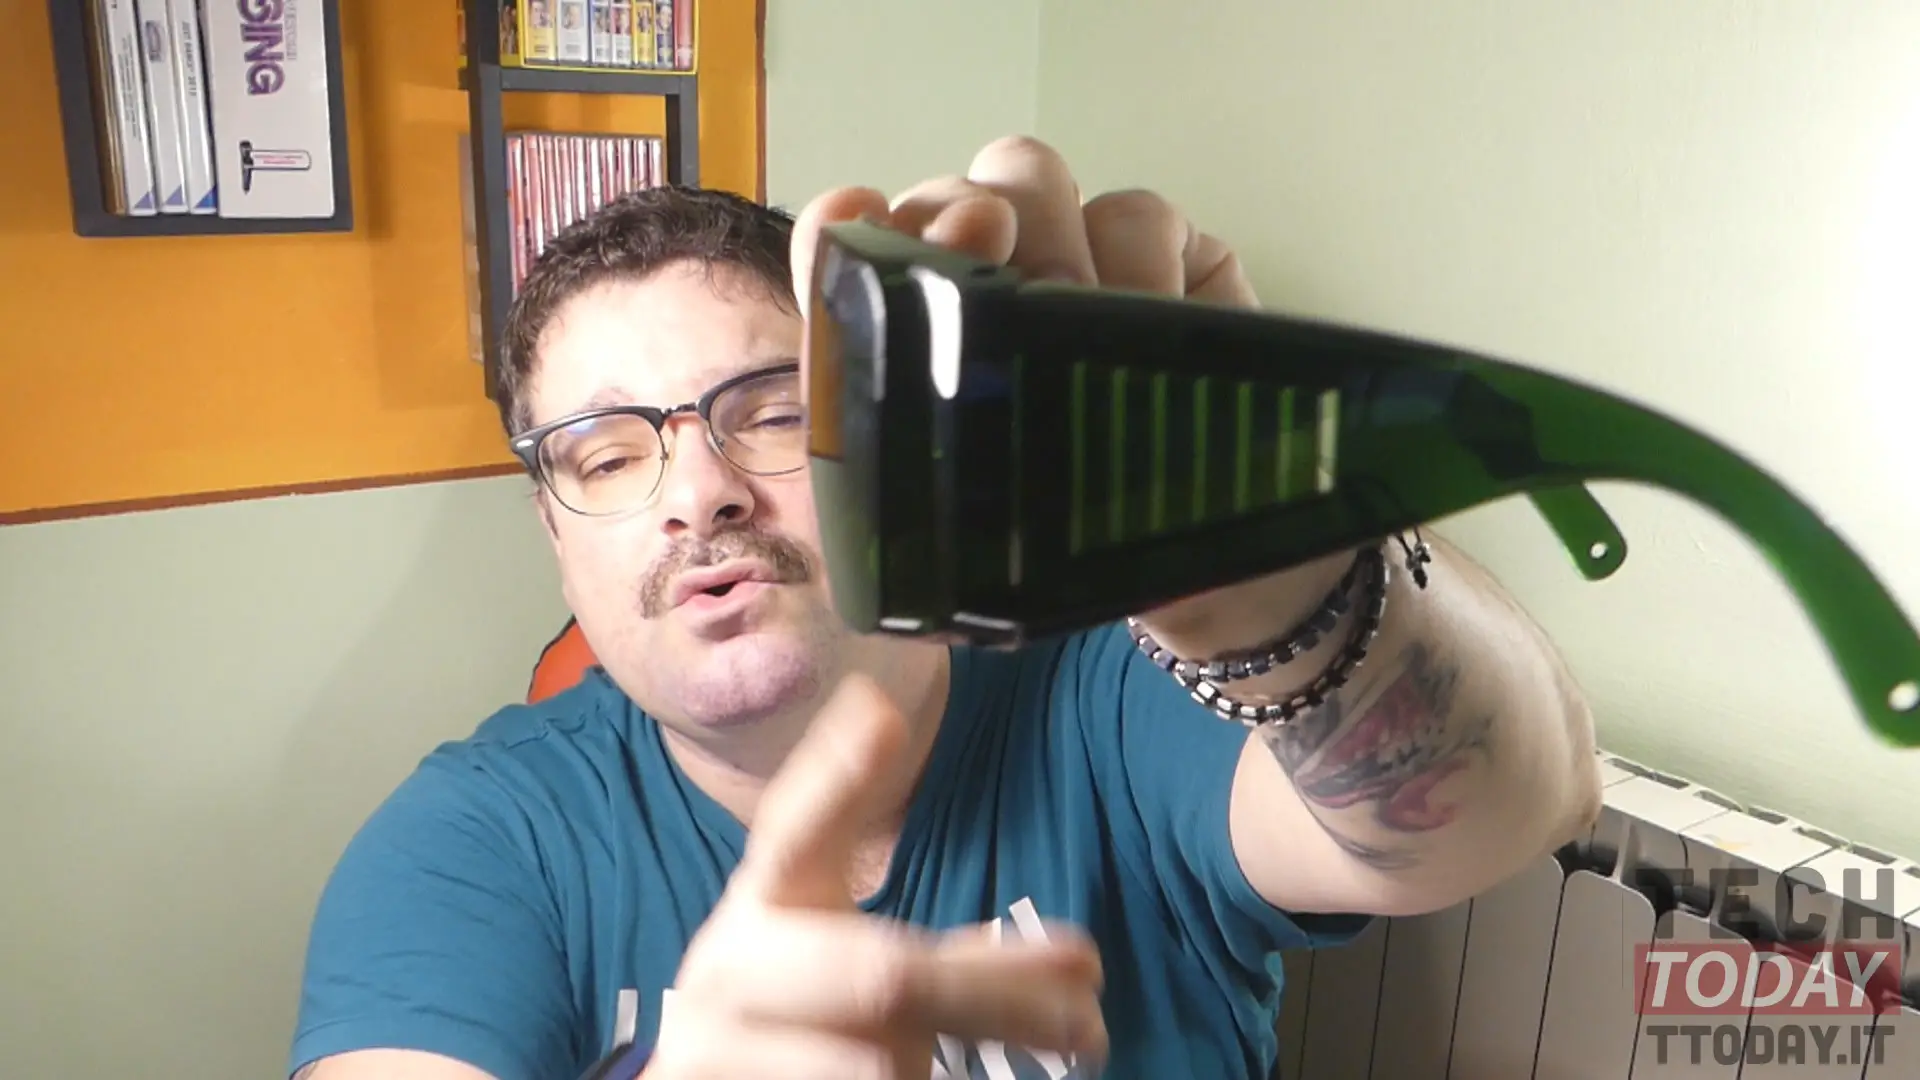
- Goggles;
- USB Type-C power cable;
- Wall power supply with European socket and 5V-2A / 10W output.
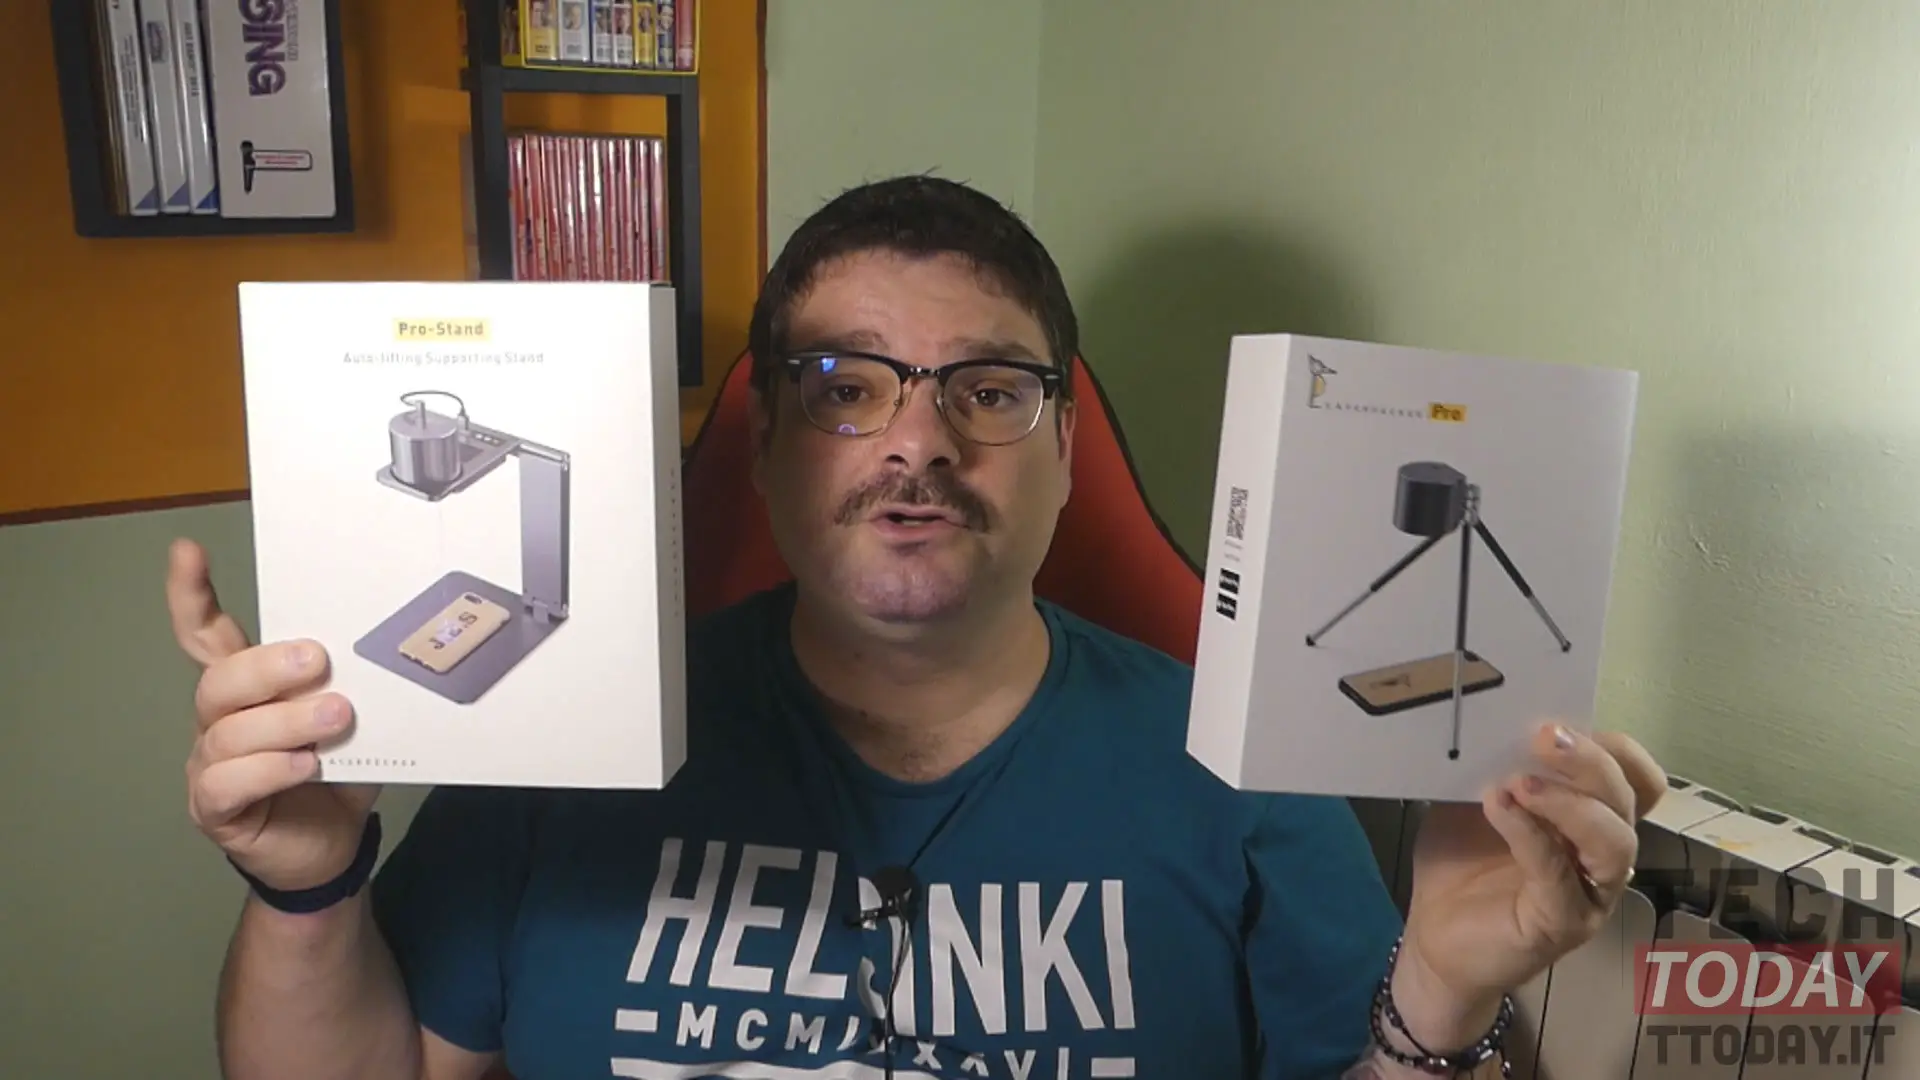
In the second package that refers to the Deluxe Edition Gray, we find the following equipment instead:
- Self-adjusting stand for LaserPecker L1 Pro;
- Laser focus and instruction cards;
- USB Type-C laser engraver stand splice cable;
- Stand base protection mat.
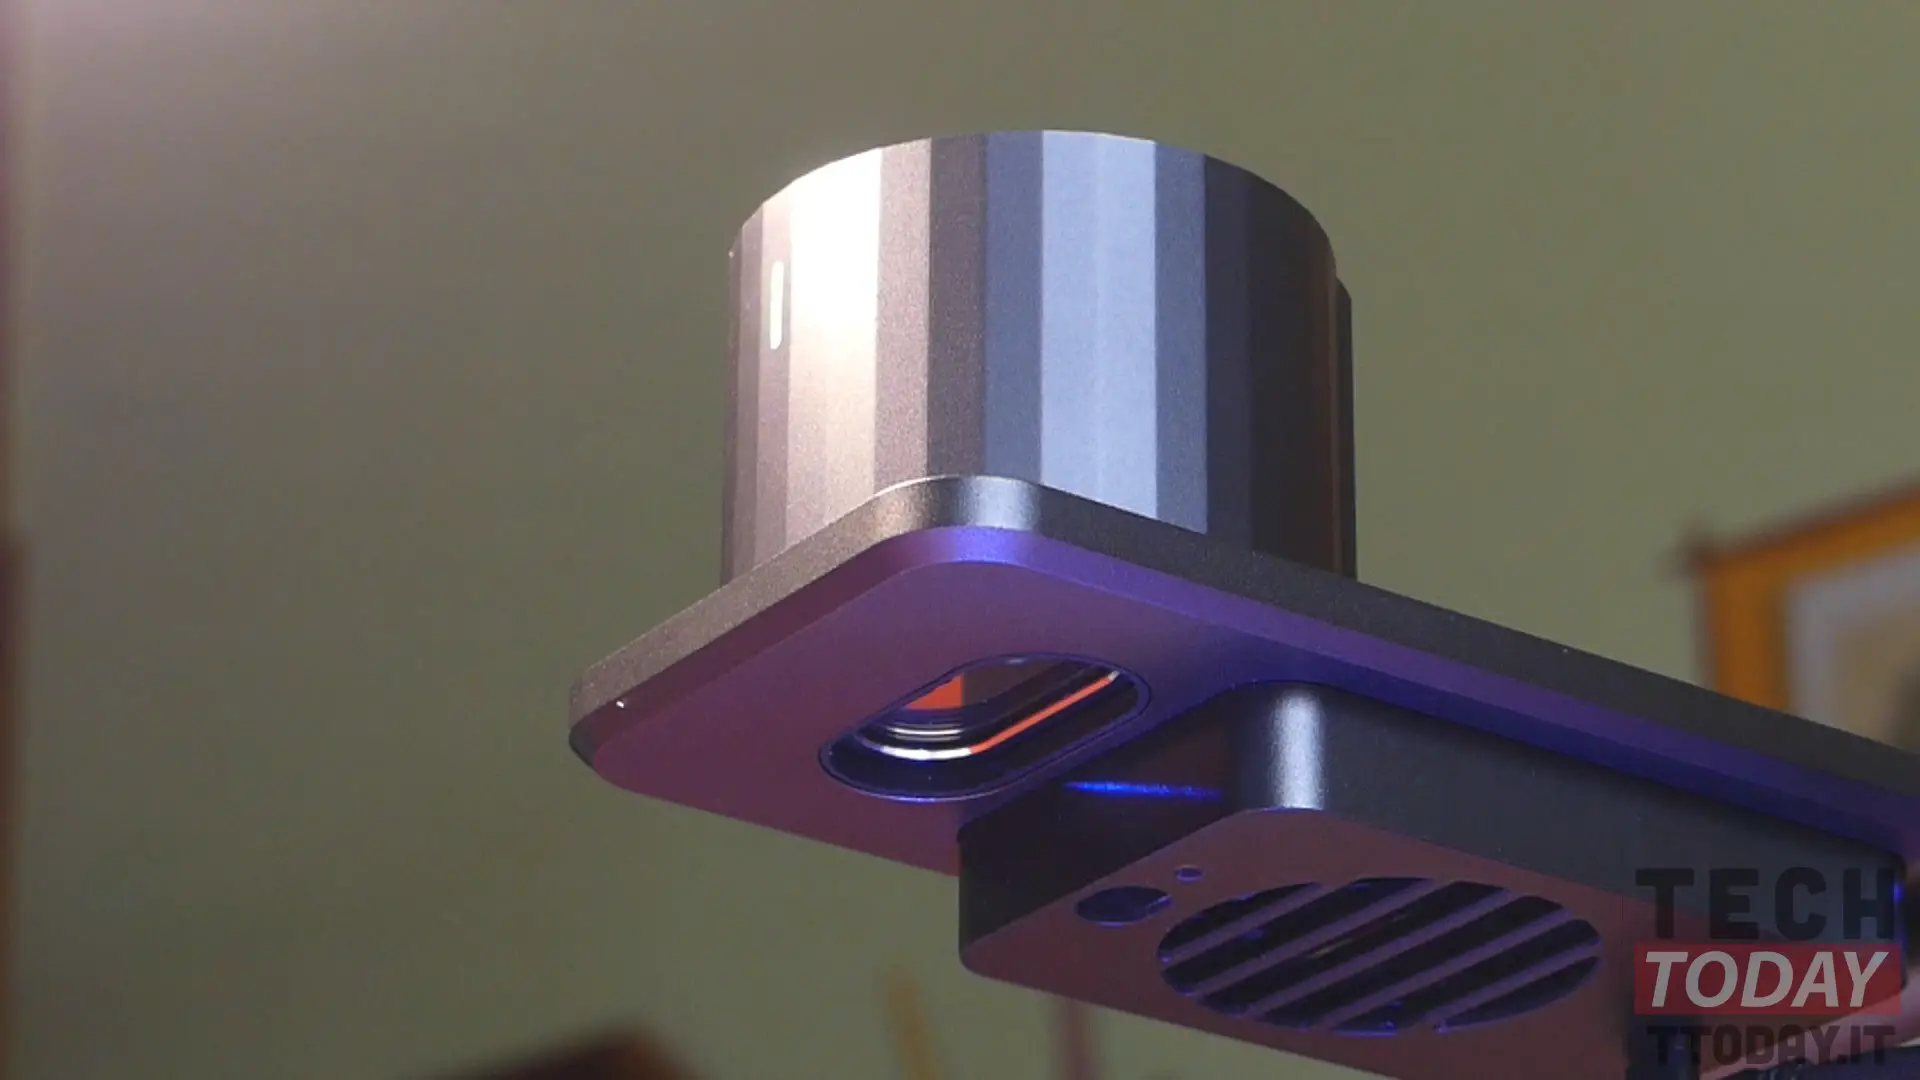
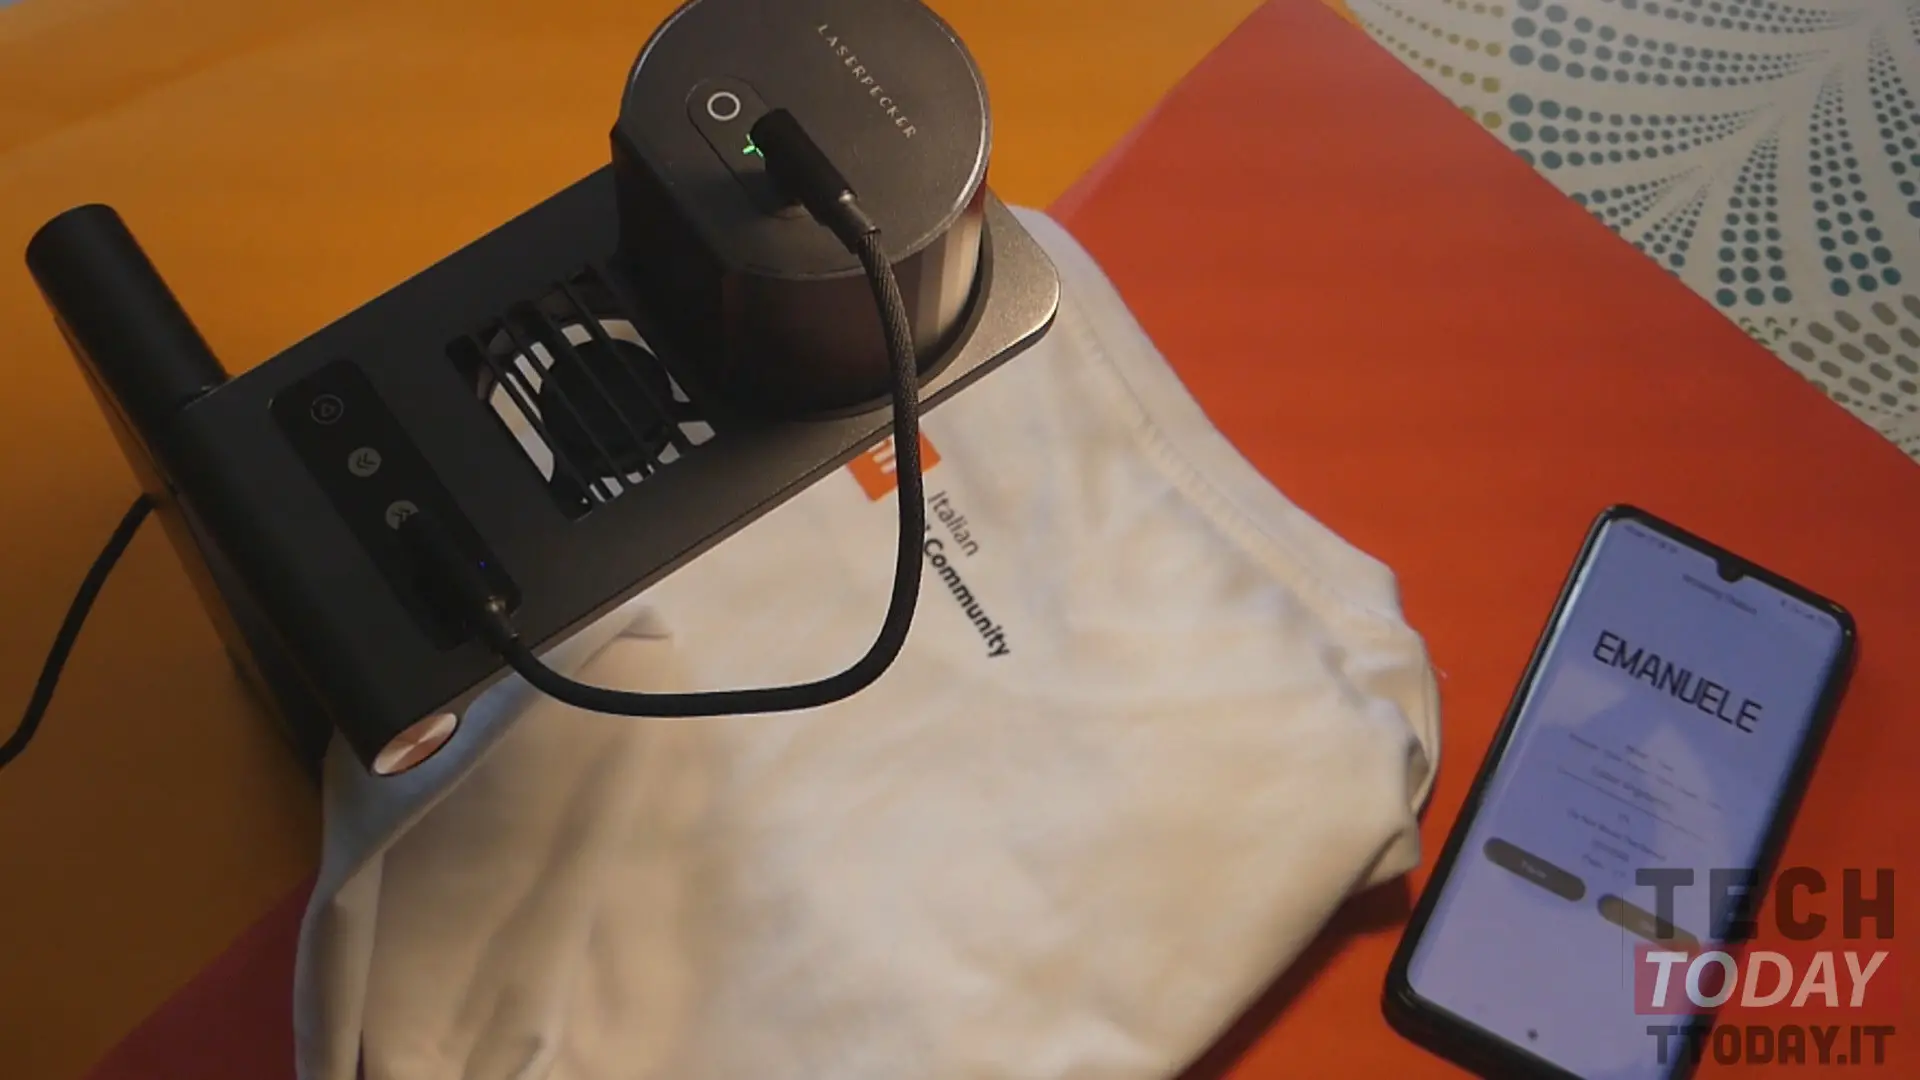
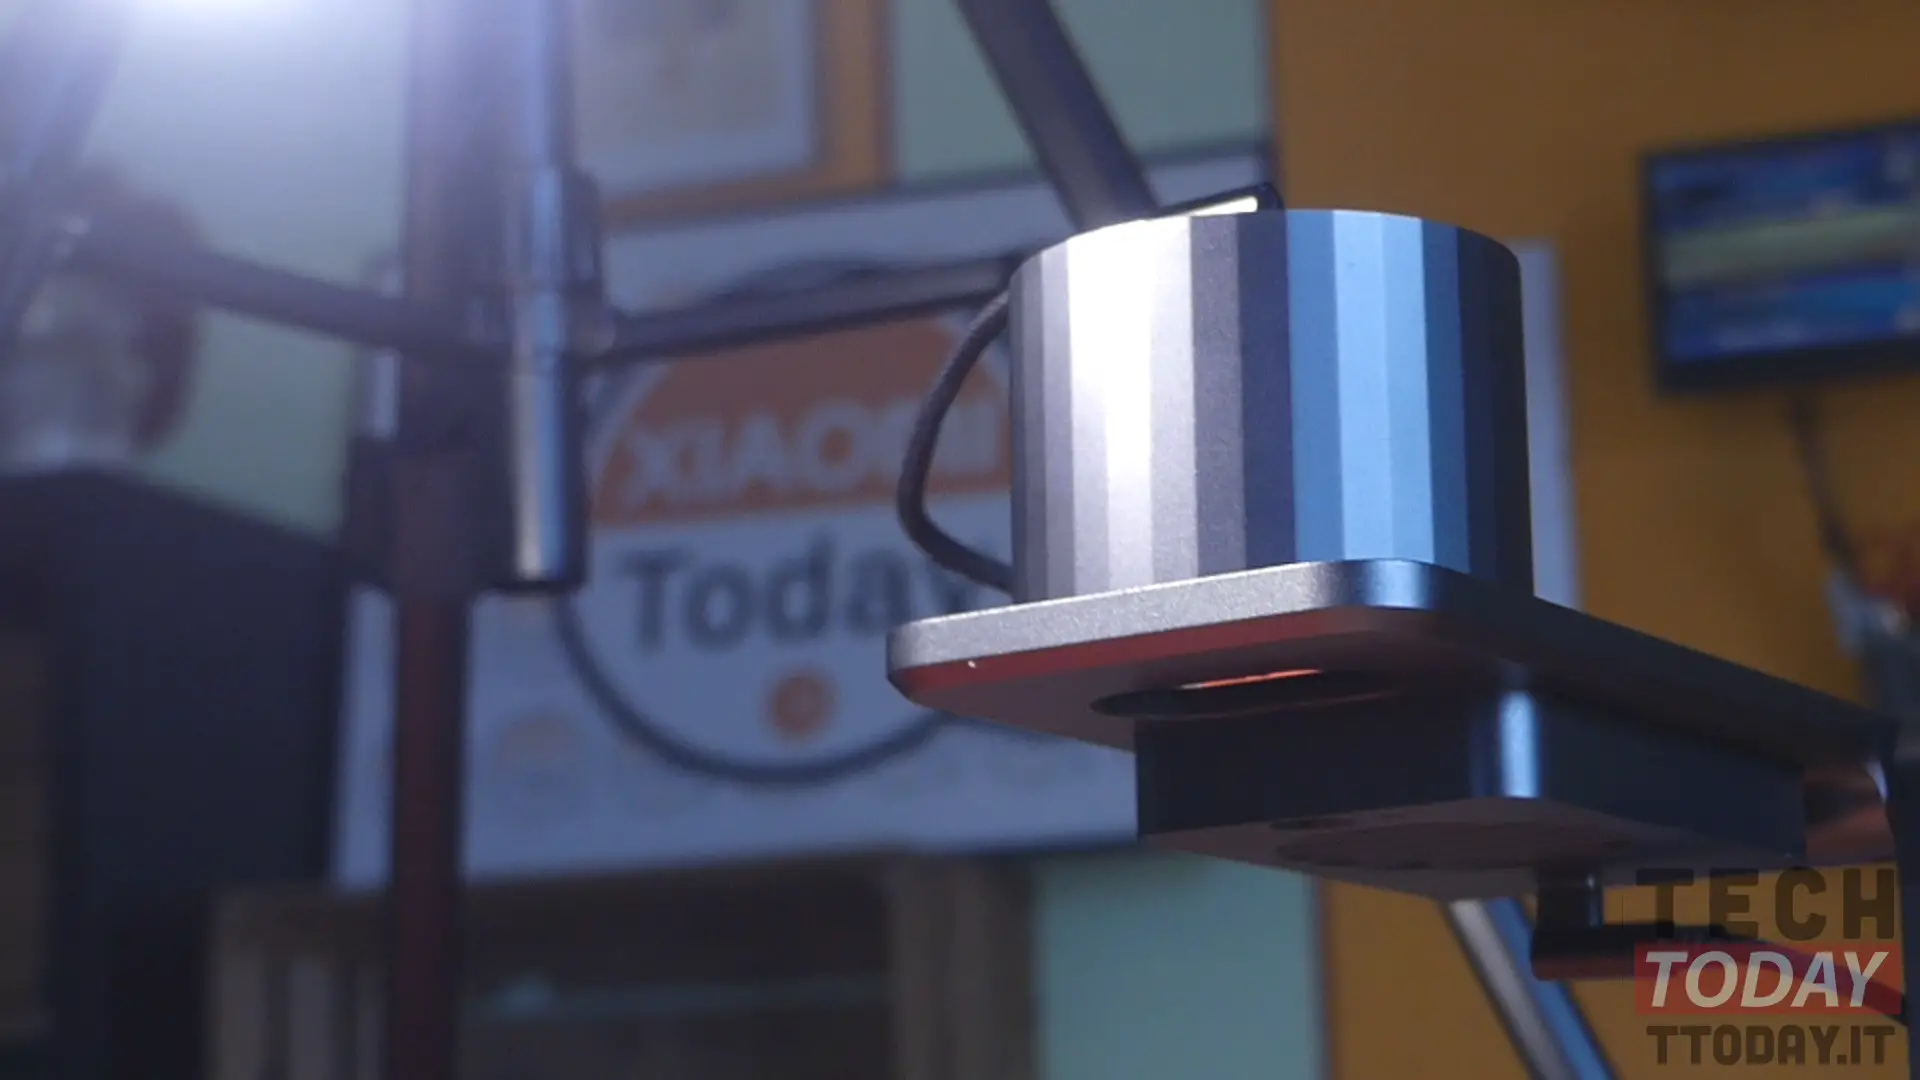
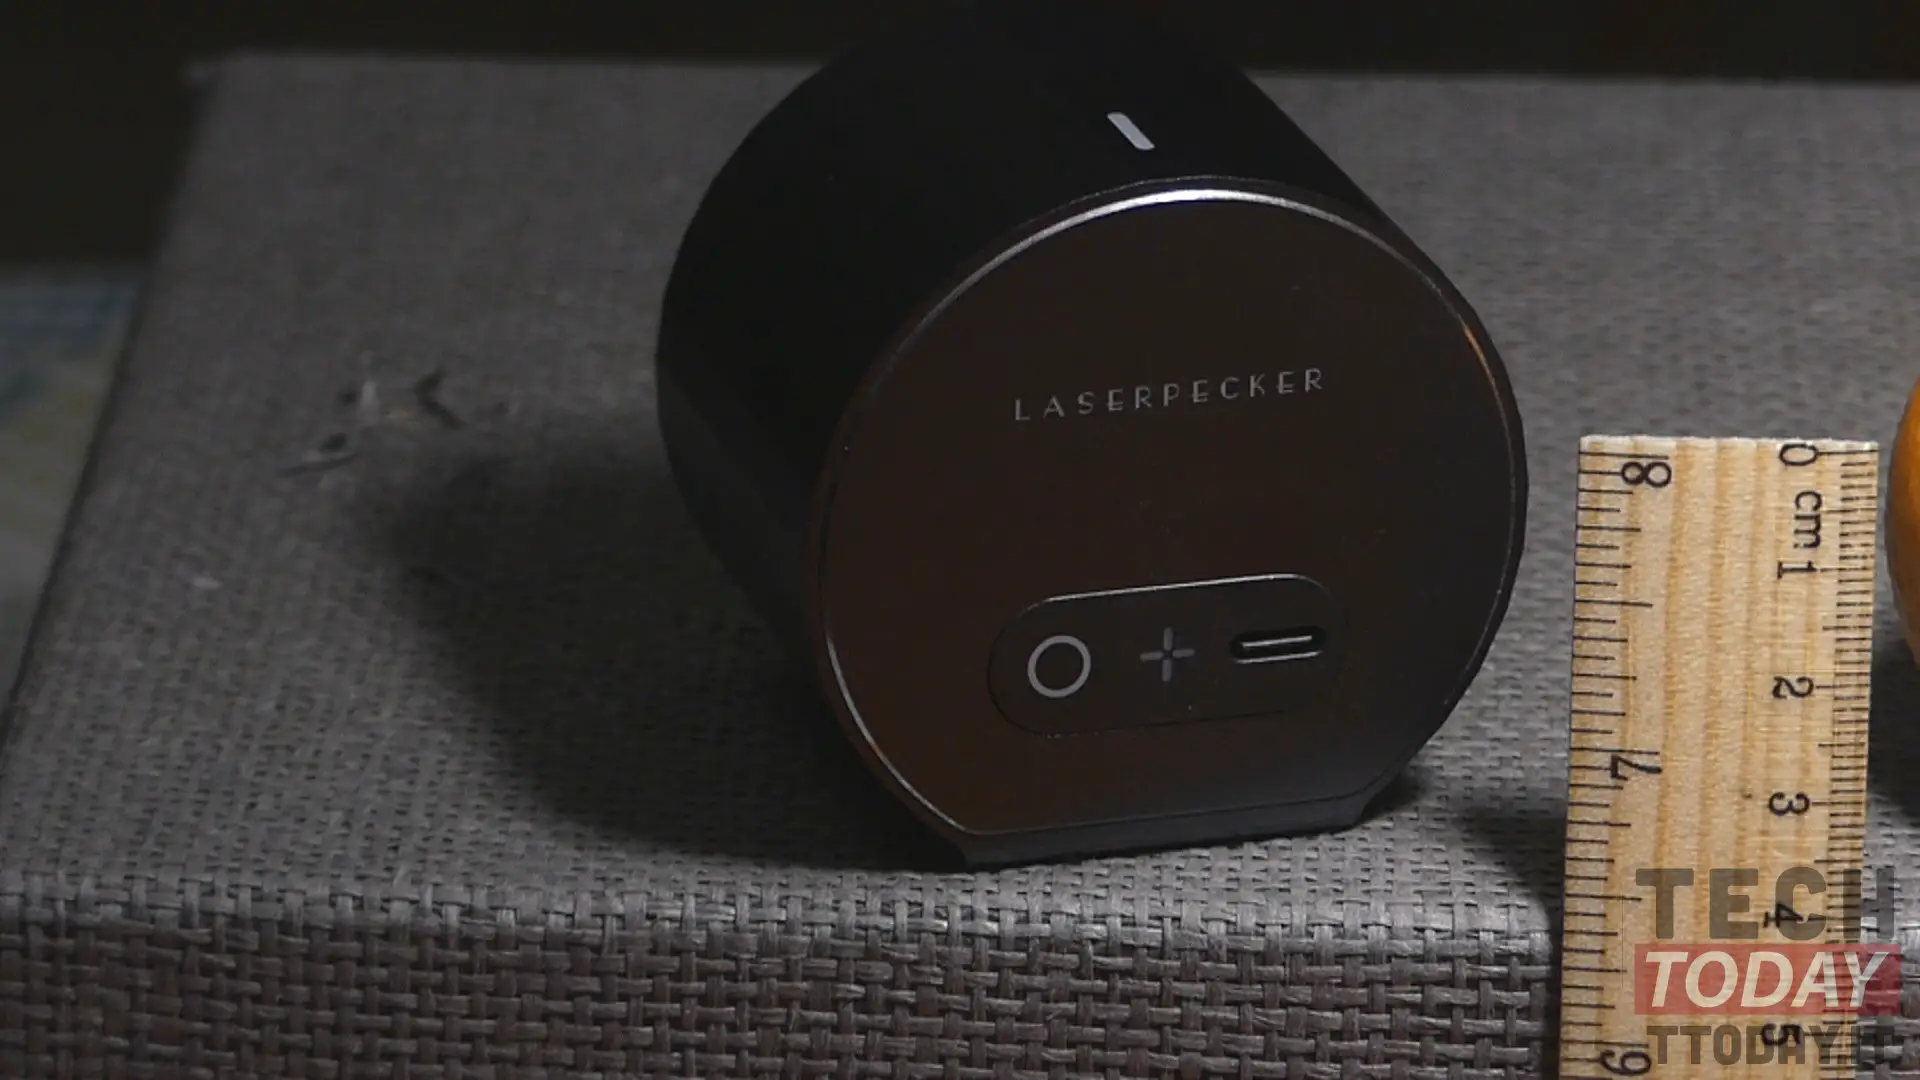
The protagonist is undoubtedly the LaserPecker L1 Pro engraver, which looks like a sort of cylinder with very compact dimensions (65x61x53 mm for a weight of 190 grams), such as to remain in the palm of one hand, which allows an extreme portability of the product. In fact, I will spoil you immediately, which given the low power required for operation (5V-2A / 10W) allows us to use the engraver directly powered by a common powerbank. Imagine the scene of carrying this gorgeous gadget, a power bank, and wowing your friends with engravings on almost any material. Of course in this case a small carrying bag would have been the icing on the cake for this product.
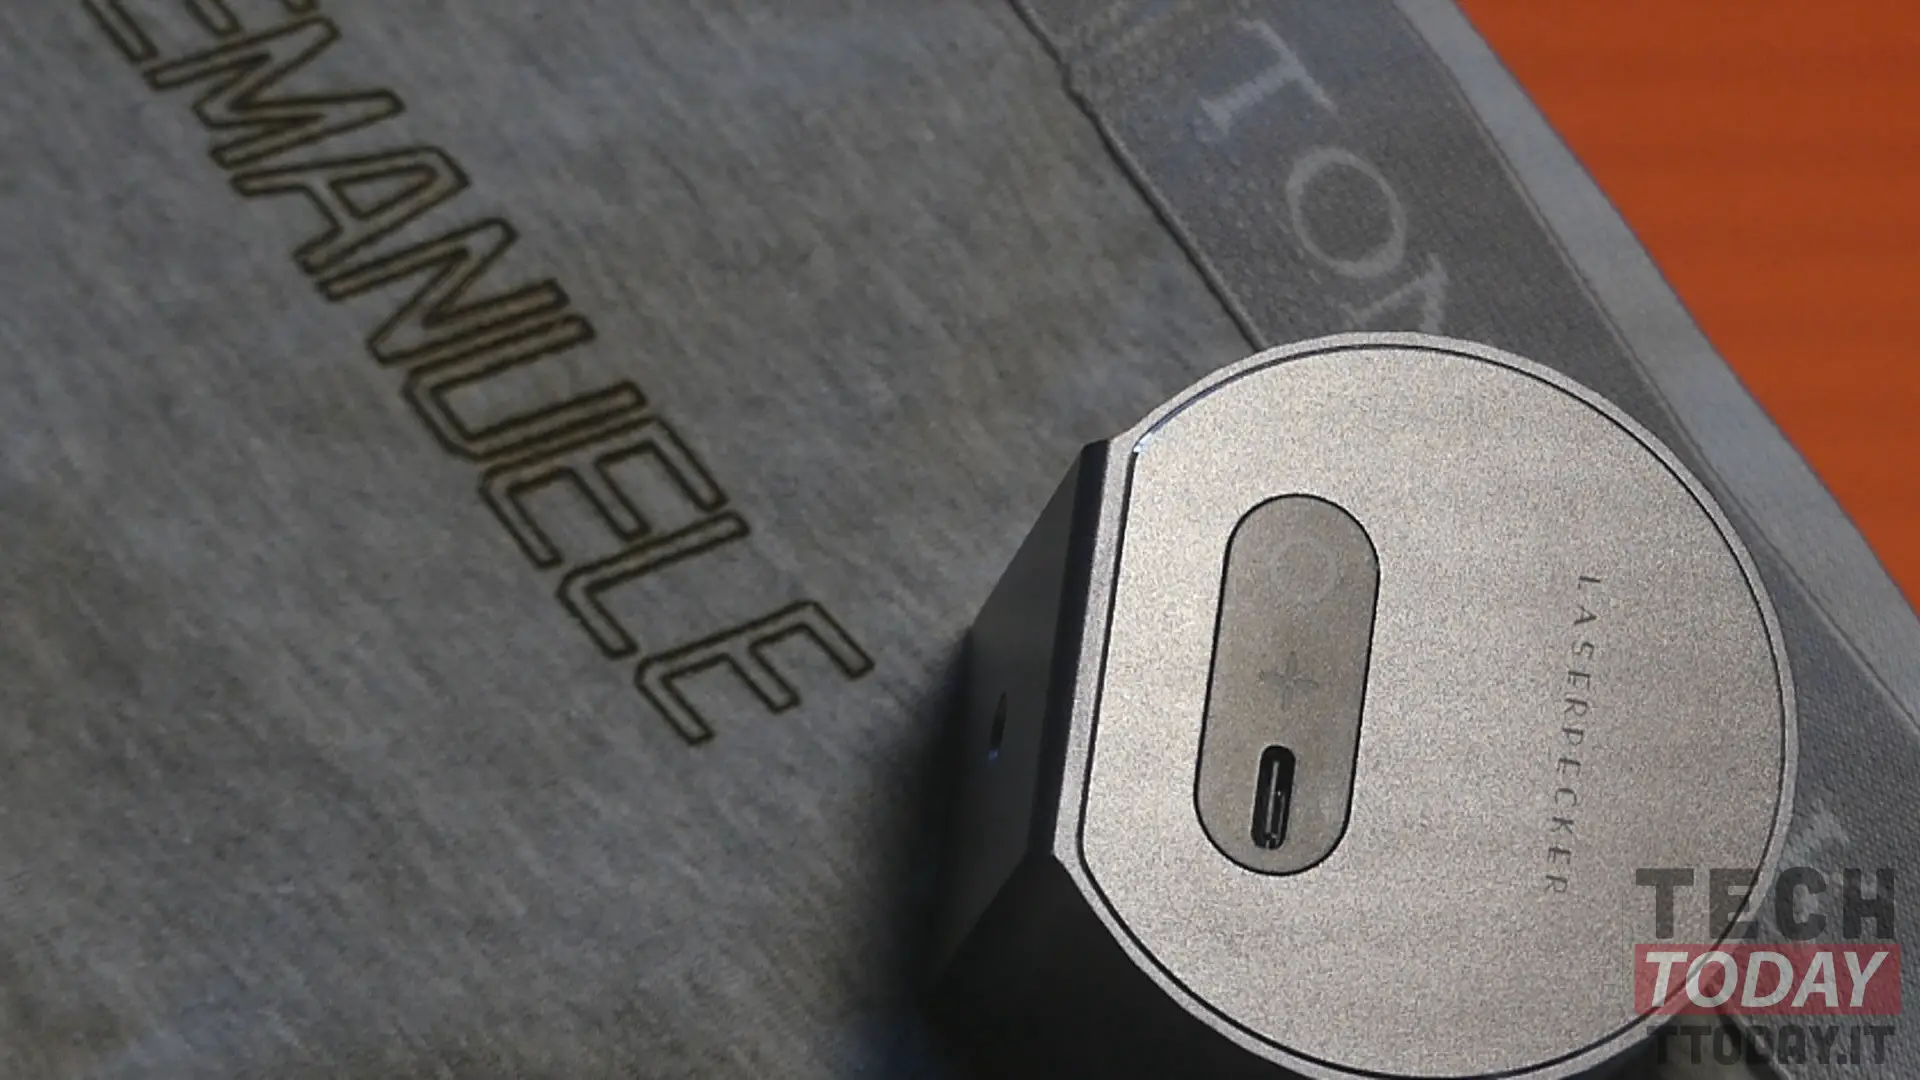
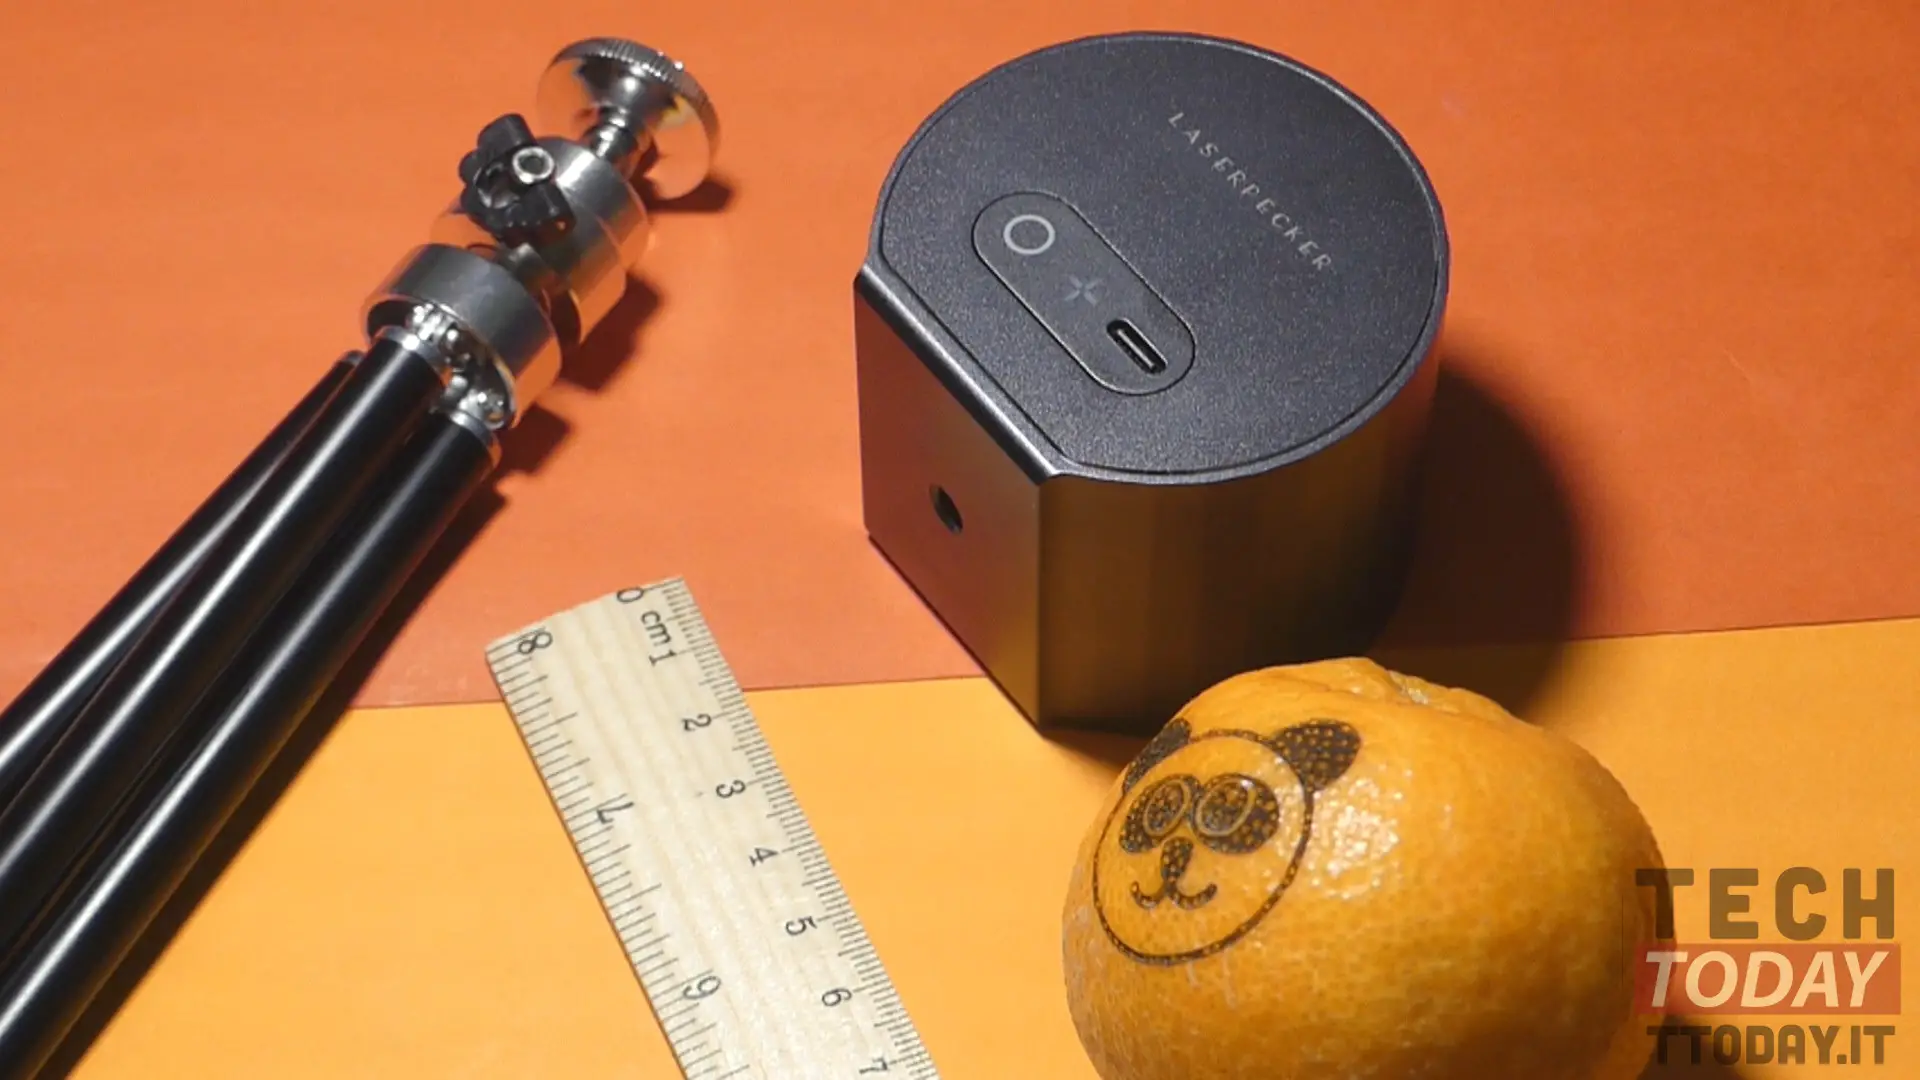
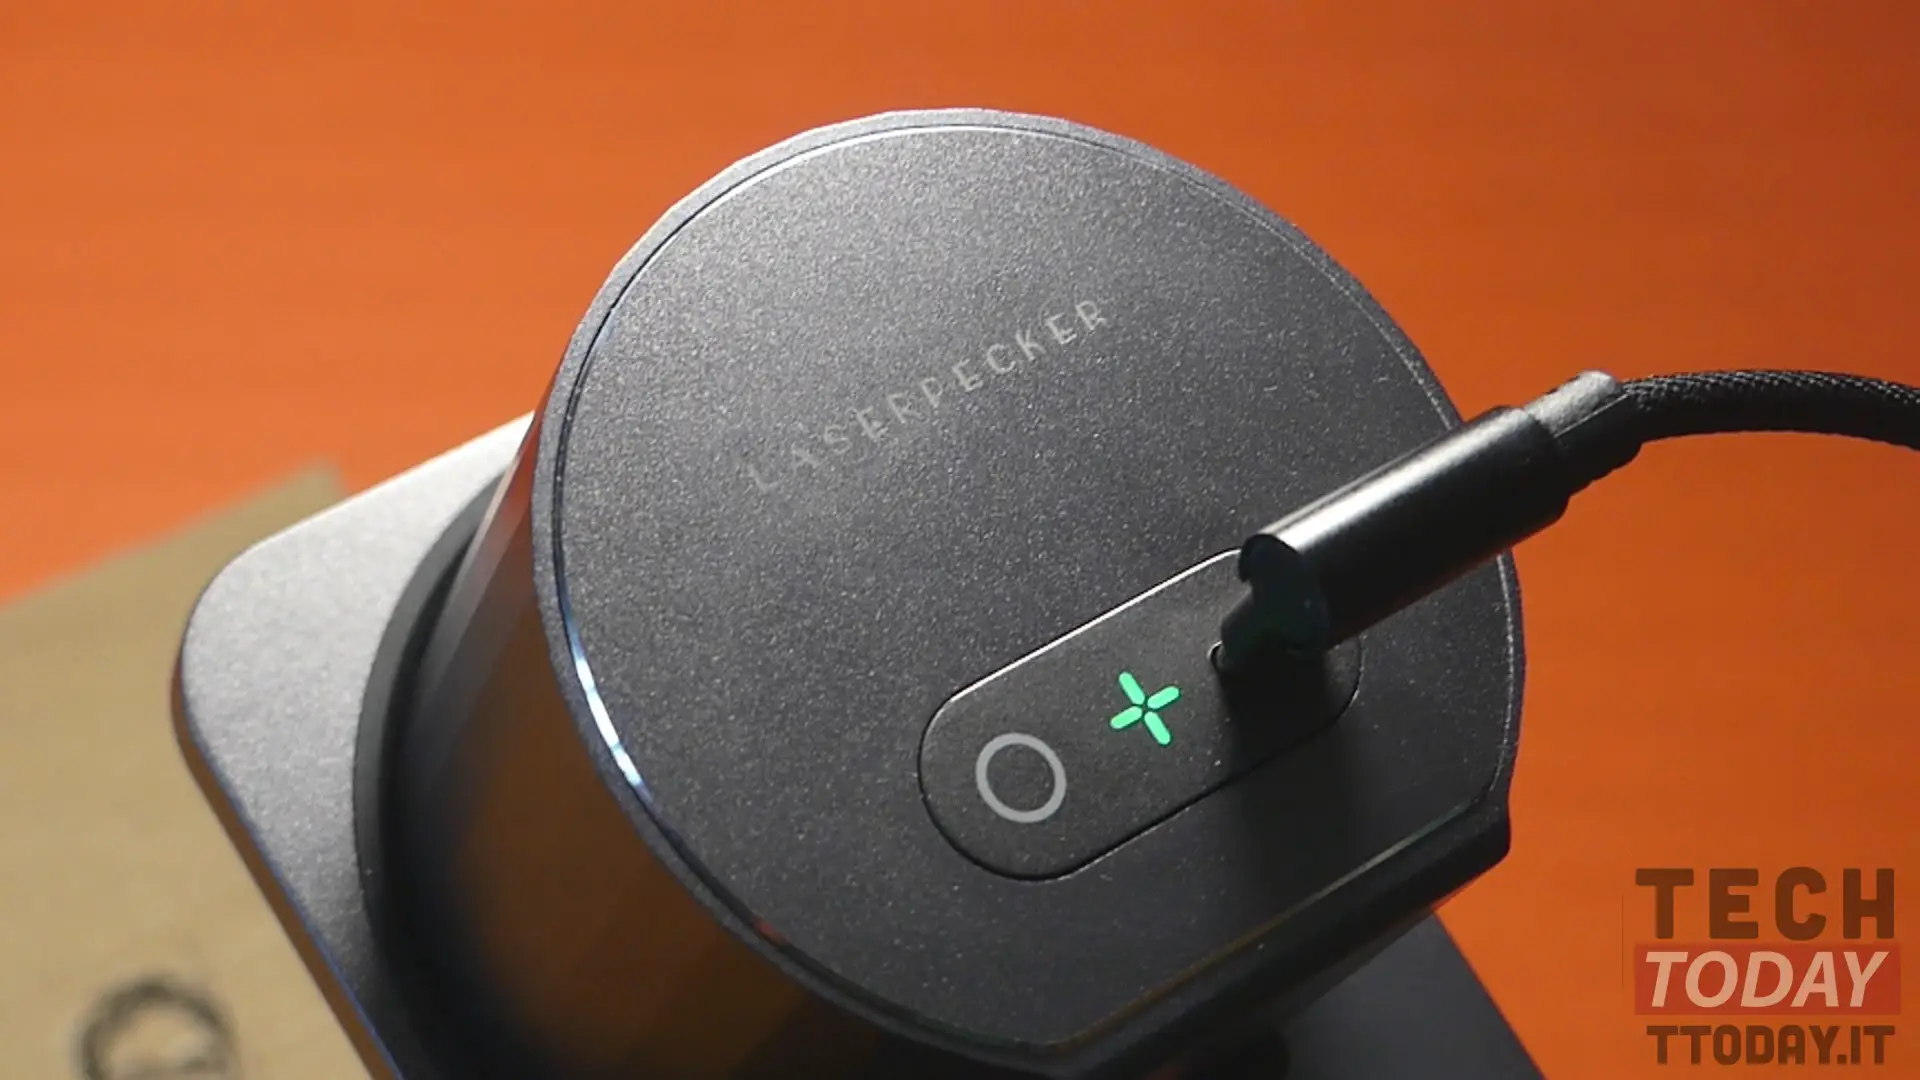
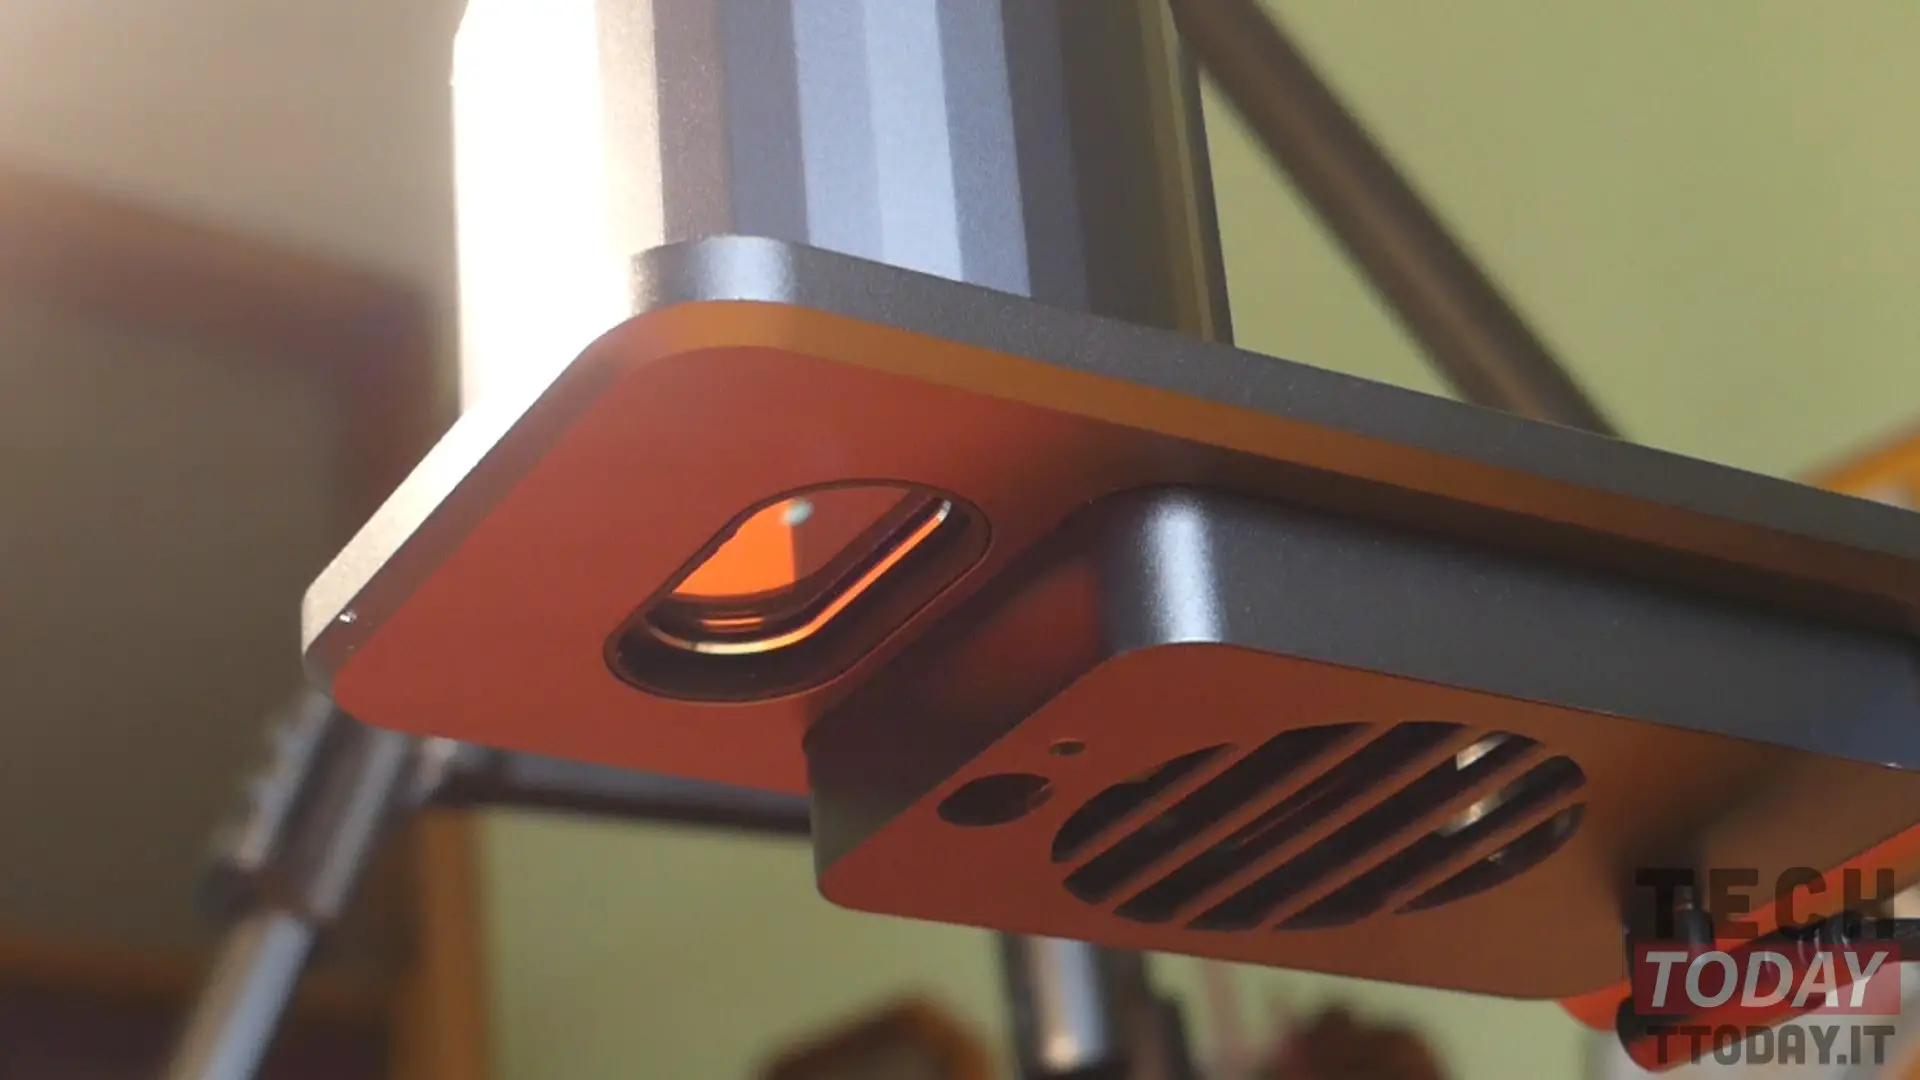
Returning to the materials, the LaserPecker L1 Pro uses a structure completely made of Space Gray anodized aluminum with some plastic inserts for the engraver head, where we find the Type-C input for the power supply, a status LED and a small soft touch button that will be used to pause the recording with a single touch or with a prolonged touch you can turn the device off / on. On the rear profile we find instead the photographic screw input, to insert the supplied mini tripod or another type of support equipped with this attack. The front profile instead houses an additional status LED, which also confirms the Bluetooth connection with the smartphone while in the base of the compass there is the real 405nm laser diode with Blue-Violet ray, guaranteed for over 10000 hours of use.
Keep in mind that the best performance is guaranteed at a distance of 20 cm from the surface to be engraved, this explains the reason for the presence of a ruler in the package, which actually becomes superfluous when you use the laser engraver with the stand. Regarding the tripod, unfortunately this accessory is not made with the same care as the main gadget, but in any case it integrates an adjustable head and feet that can be adjusted in height. But the too light weight and the general construction of the tripod make it a bit unstable if the feet are stretched beyond a certain extent.
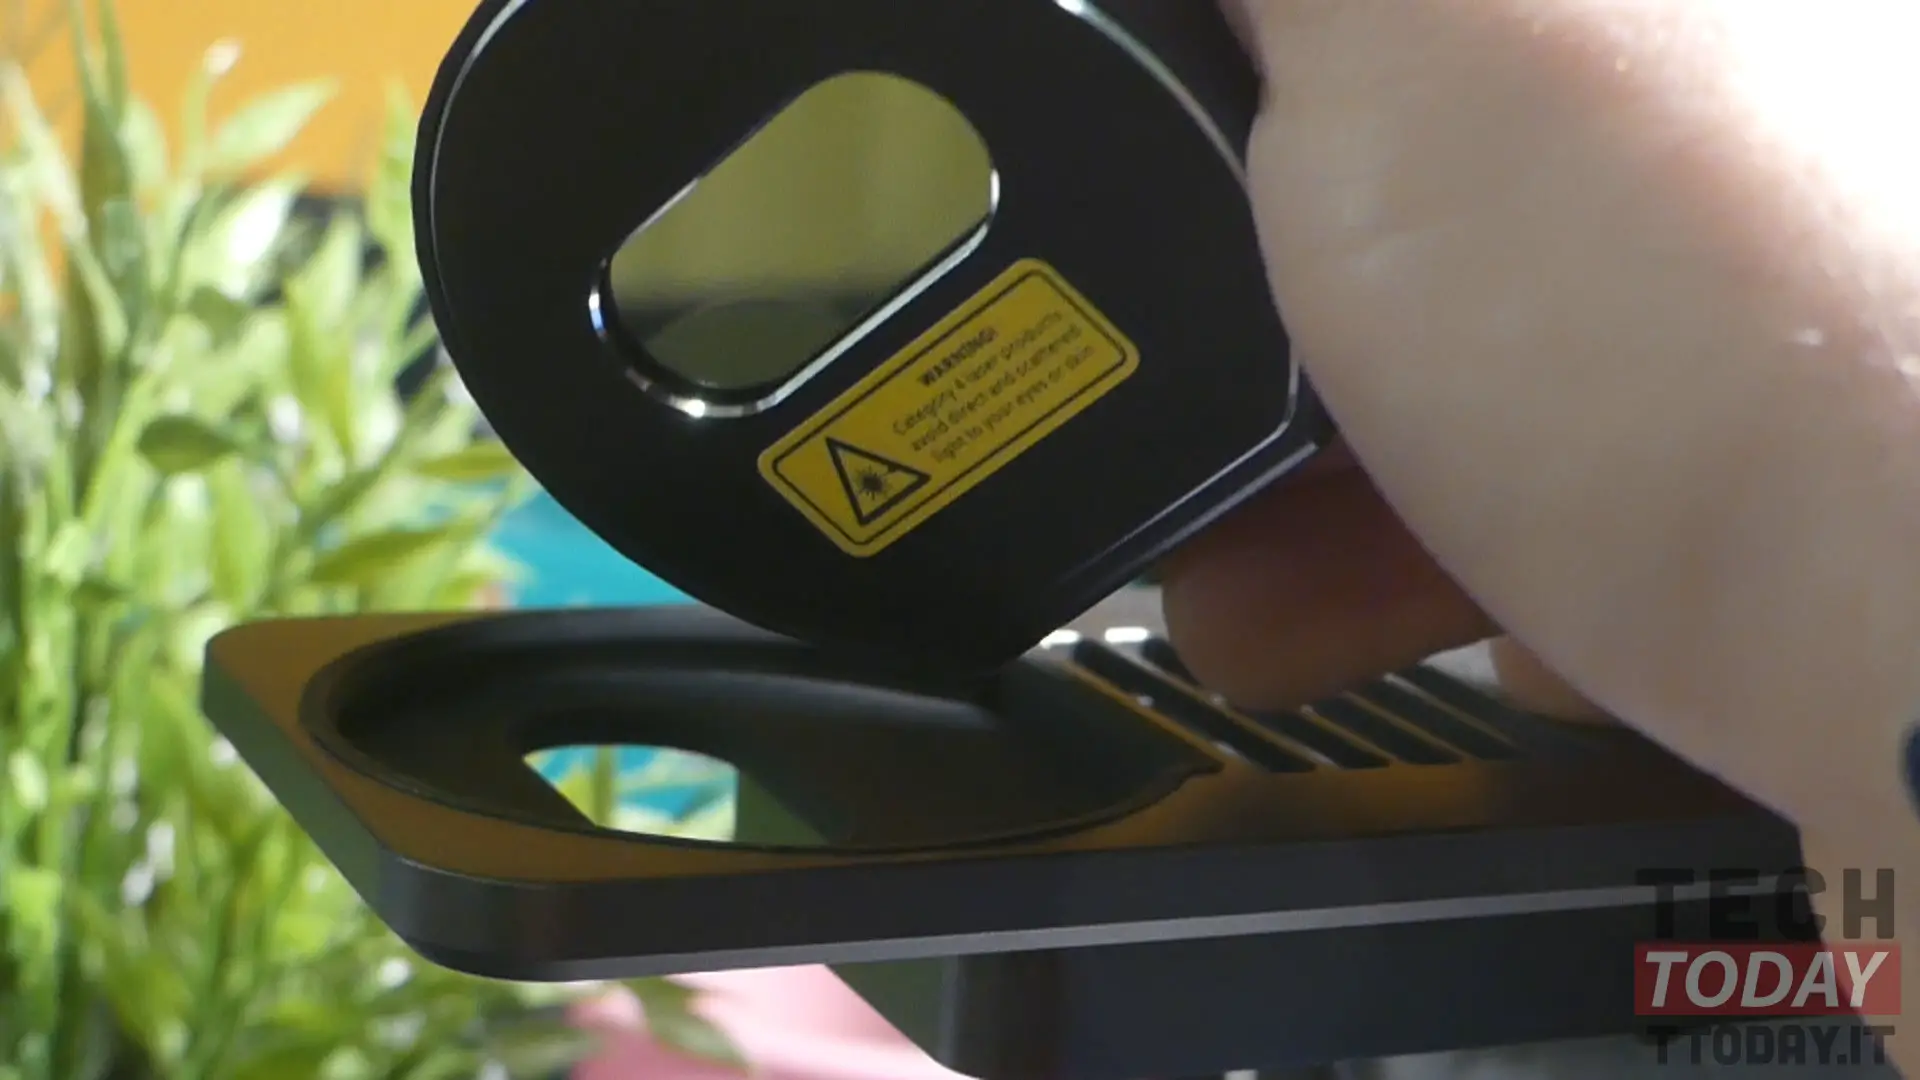
A small note of mention goes to the glasses, made entirely of plastic in a green color, reminiscent of that of glass bottles, which runs along the entire surface of the glasses, so not only for the lenses but also for the rods and side protections. Why the green color? Without making too many cultured explanations on Wikipedia, I tell you that the green color almost neutralizes the violet / blue shades emitted by the laser, following the primary color scheme.
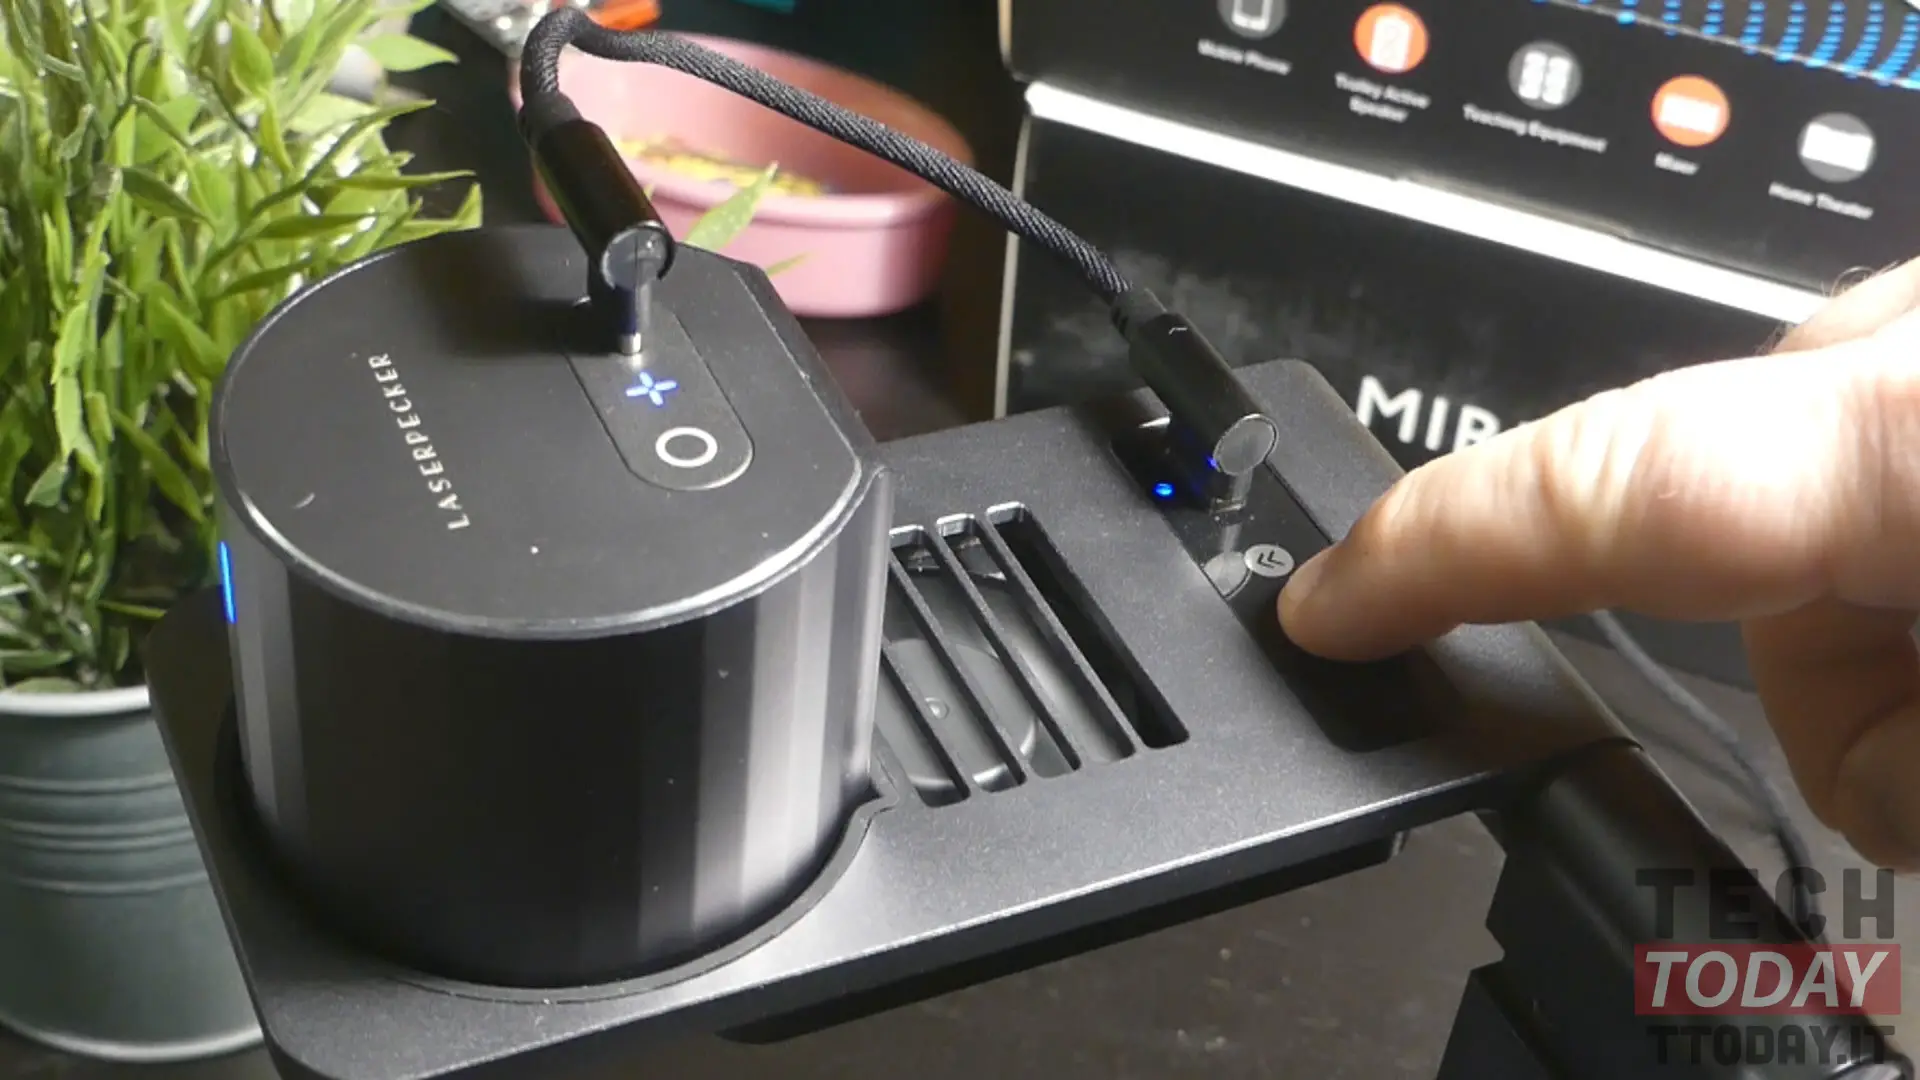
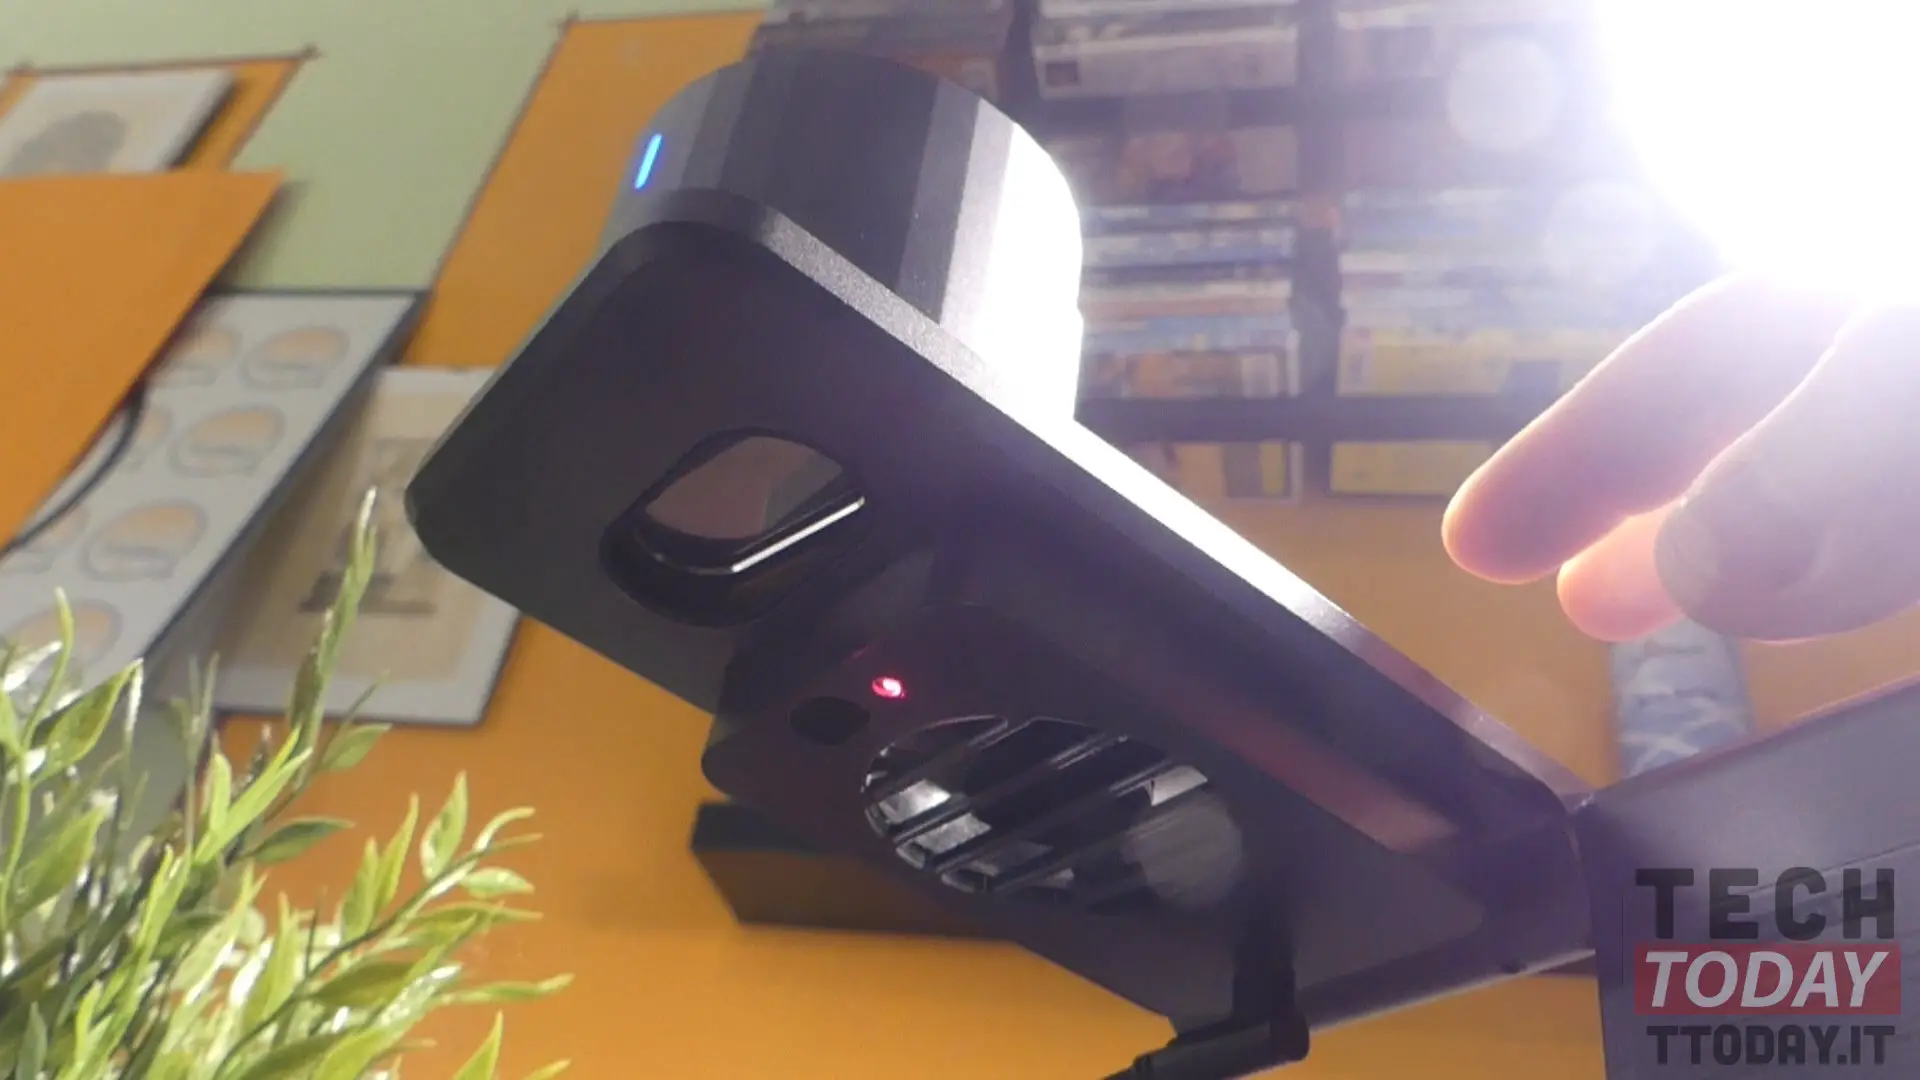
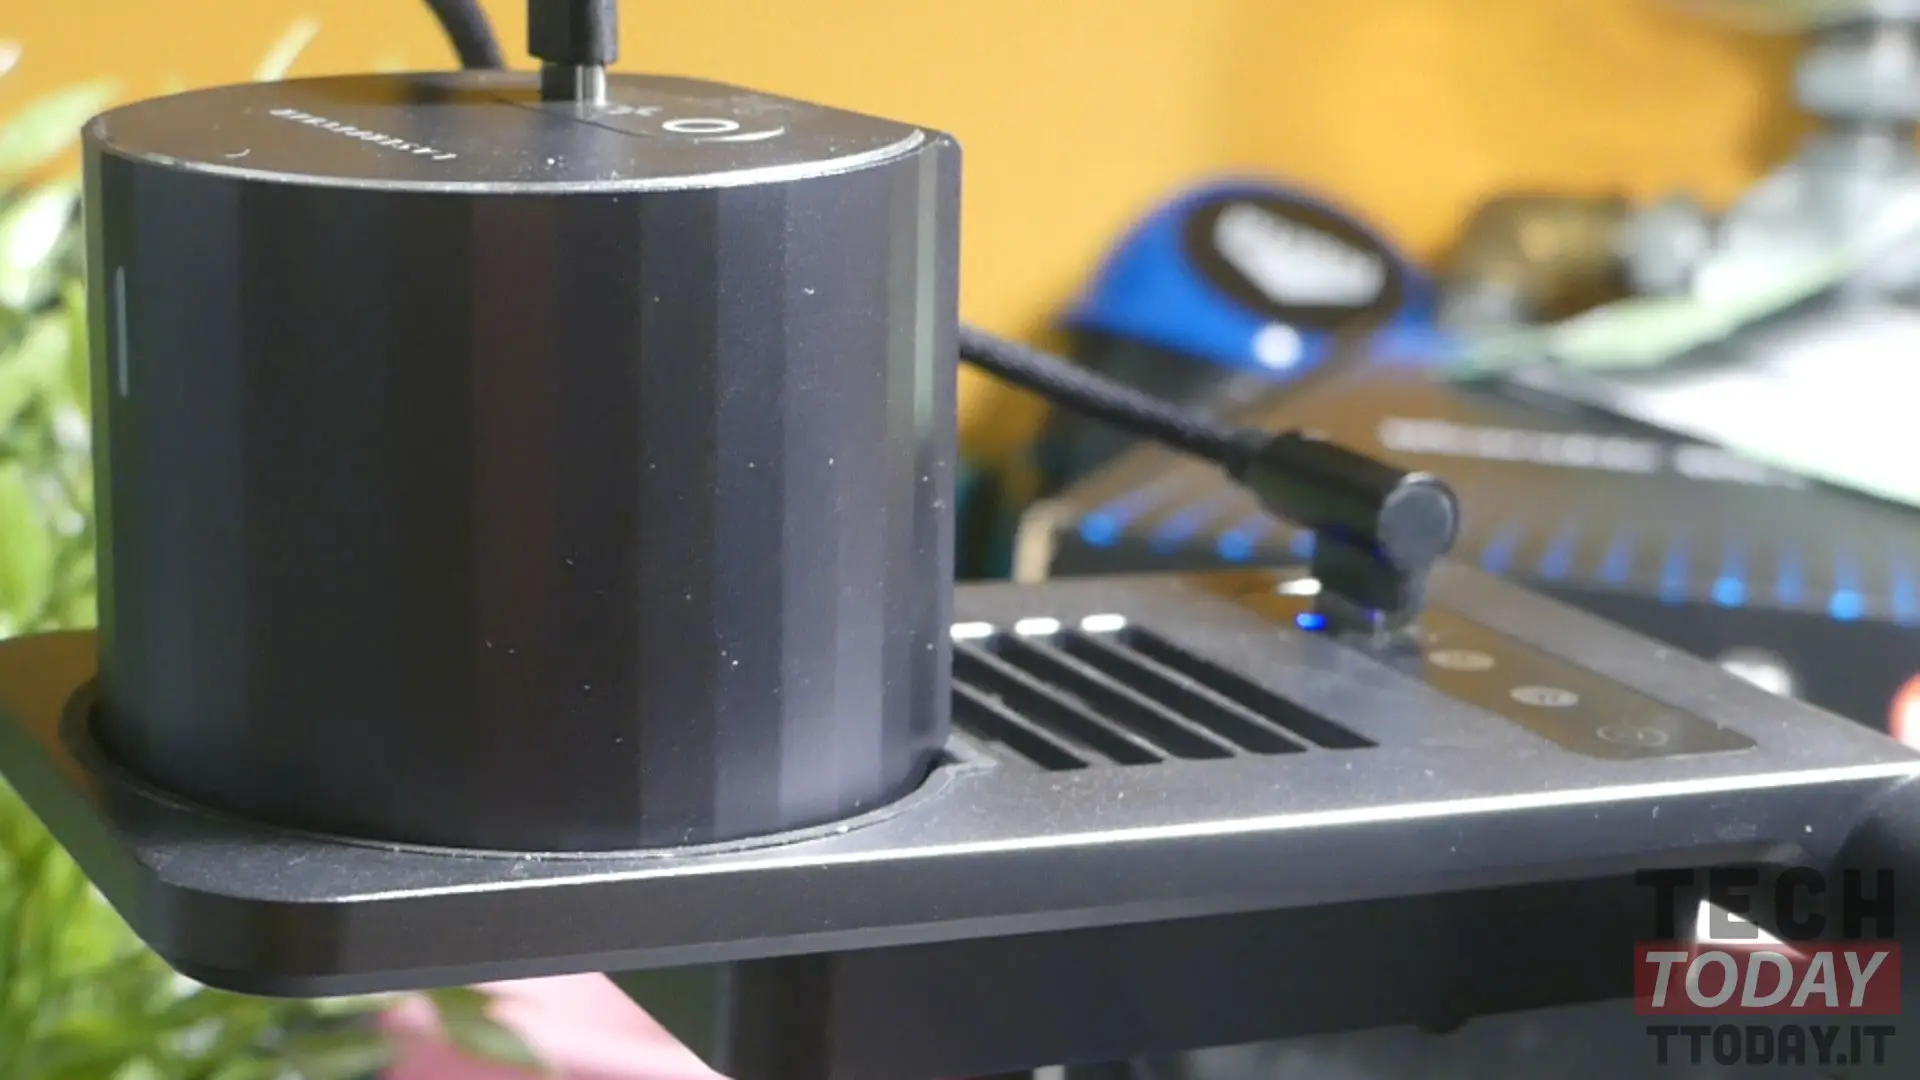
Another attention to detail by the company is in the realization of the supplied USB Type-C cables, which are covered with an anti-tangle cloth sheath, to avoid annoying and dangerous entanglements. Having said that, let's move on to the knowledge of the self-adjusting stand (dimensions: 195x153x25 mm when closed / 195x153x198-293mm when open for a weight of 860 grams), which, as the name suggests, offers the function of self-adjusting the laser focus by means of a button. inserted in the shaft of the engraver support arm. The button has the shape of the PLAY and this allows in fact to turn on / off the stand (long press) and to activate the autofocus, which will then automatically adjust the height of 20 cm from the surface to be engraved, making the or lower the mechanical arm connected to the base.
There are two other buttons, which allow you to adjust the focus (via 940nm TOF laser with 635nm red visible area) and then the mechanical arm, manually, with continuous differences in height or with 1 mm steps. In total you can raise the arm an additional 9 cm compared to the standard. Next to the 3 function buttons we find the USB-A input for connecting the stand to the laser engraver while the Type-C input for powering the whole is found in the lower part of the fan.
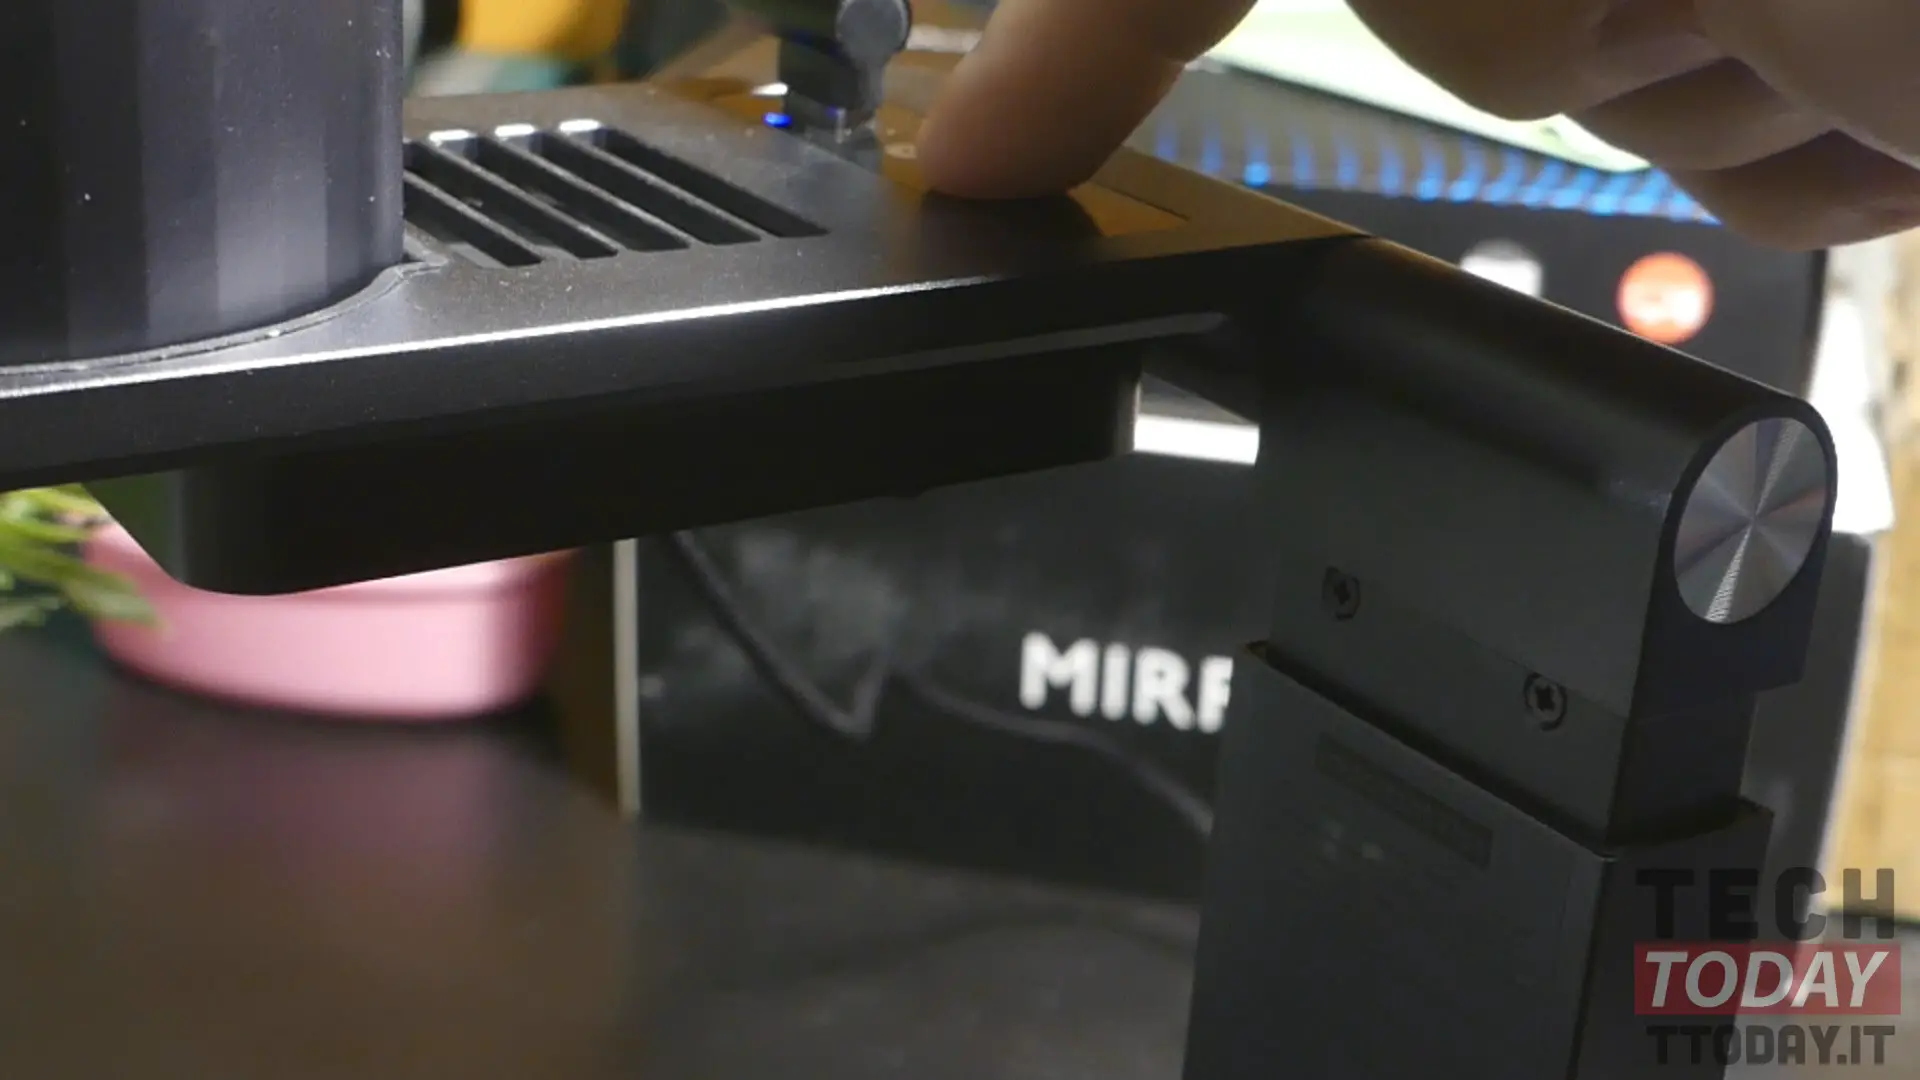

A real genius to have inserted it, as it will allow the fumes that could be generated in the engraving operation on some materials to not stagnate, thus also allowing a better result of the project. Finally, there is a sort of hollow, in which to insert the LaserPecker L1 Pro, covered in soft rubber to avoid scratches and to better adhere the engraver in the seat, avoiding micro-movements that could compromise the performance of what is being engraved. Finally, the base of the stand is made of metal, large enough to accommodate various objects and materials, considering that the maximum surface we can engrave is 10 cm by 10 cm. Under the base there are also rubber pads for the stability of the stand once it is placed on various tables and surfaces.
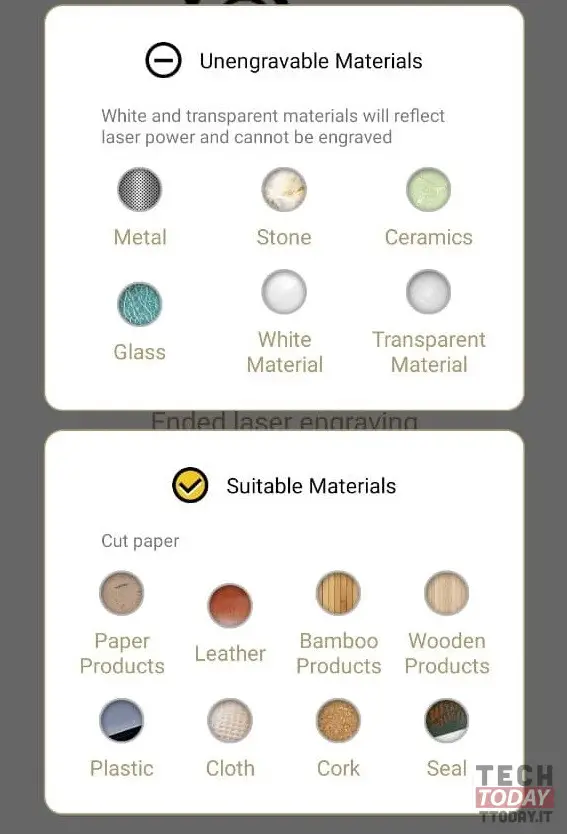
Before telling you how it works and before you get the urge to engrave anything, it should be noted that with the powerful LaserPercker L1 Pro you can engrave almost everything but not everything. You absolutely cannot use the laser on metals, stones, ceramics, glass and transparent and white colored materials, as these "colors" would reflect the laser. Instead, we can engrave wood, leather (not human of course), fabrics, felt, paper and cardboard, cork, bamboo, plastic, felt, acrylic and even fruit and vegetable peels.
The software supplied with LaserPecker L1 Pro will suggest the correct engraving settings relating to laser power and depth depending on the material chosen, but you can still adjust the parameters yourself as well as decide the number of laser passes, a useful function if you already have experienced that on a certain material and color the performance of the laser according to the given settings is not sufficient with a single engraving.
Well, let's get to the fun part of the review, which is how do you use LaserPercker L1 Pro? The essential focus is the companion app that goes by the name of LaserPecker, available for both Android and iOS. The artistic gadget therefore uses a Bluetooth 4.0 Low Energy connection to communicate with the smartphone, with rapid pairing and connection stability, just like with TWS headphones, speakers and wearables.
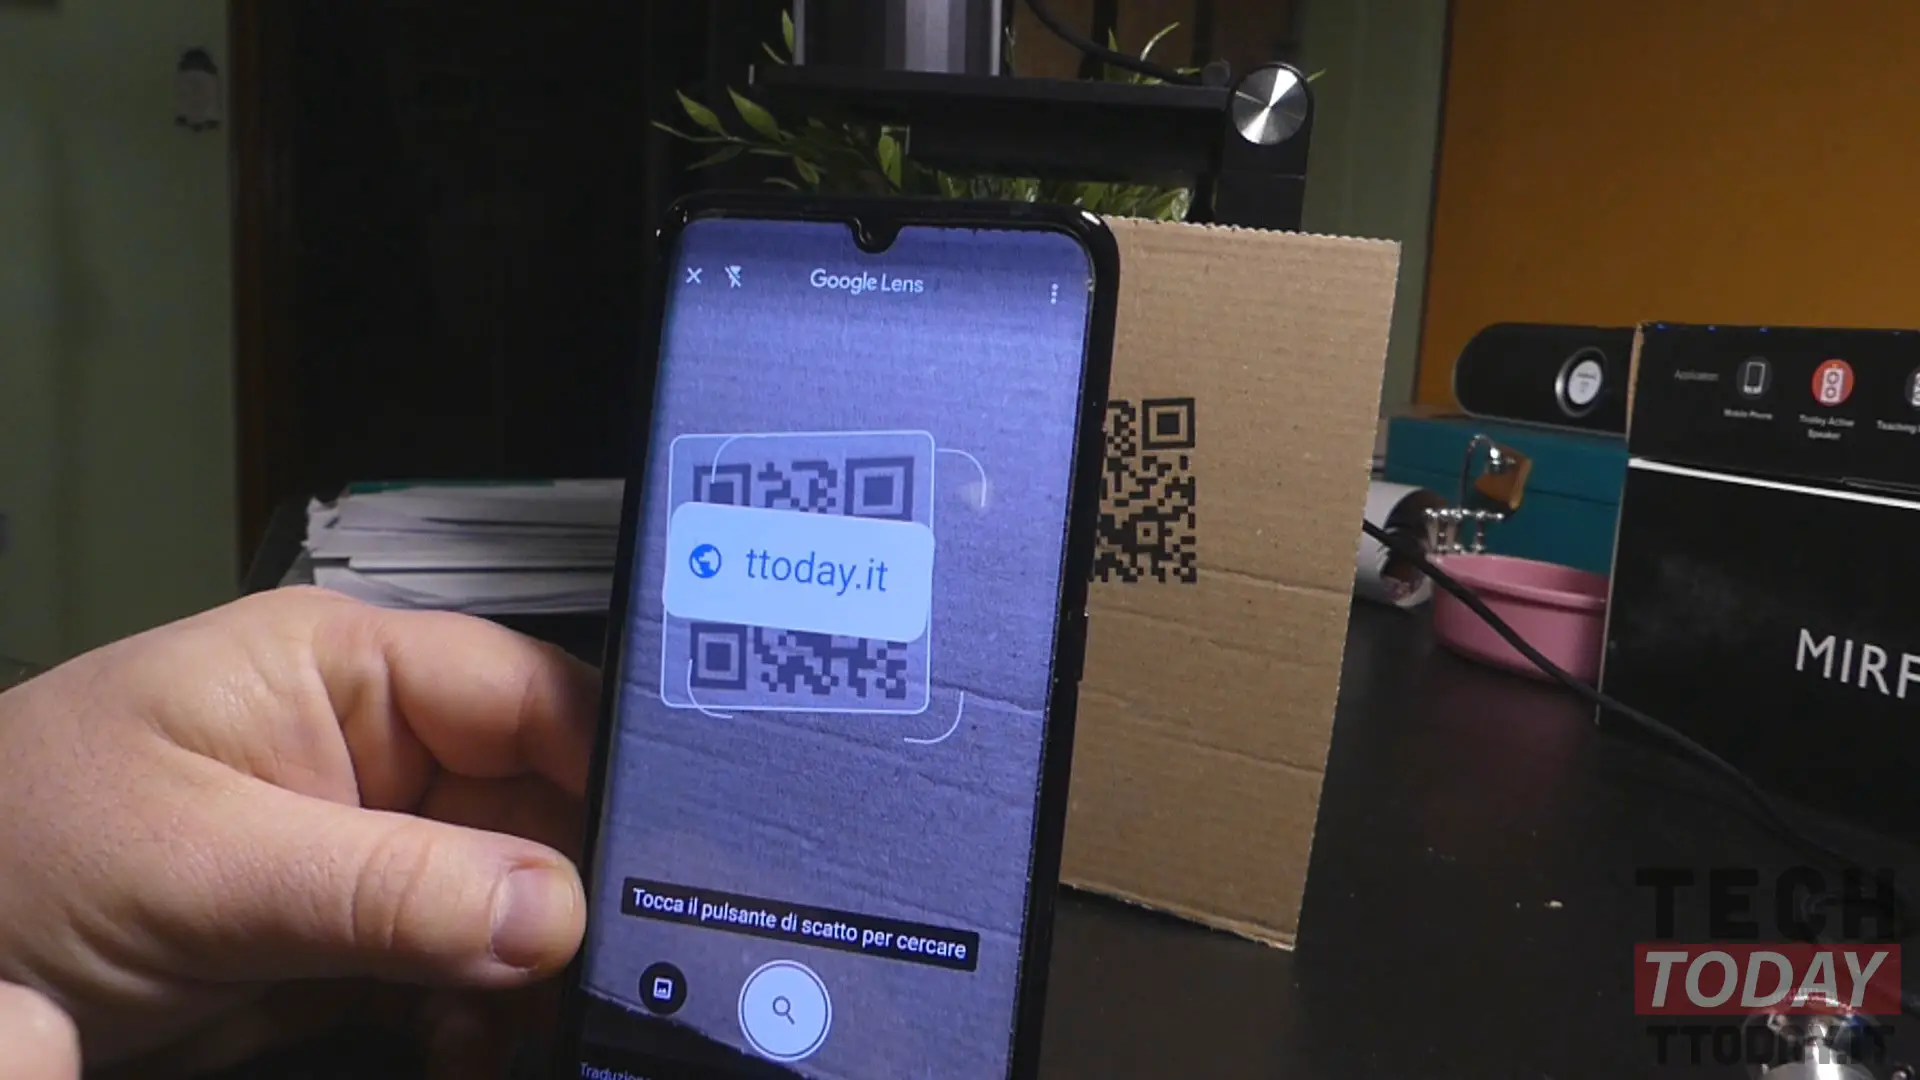
After making the connection, the first step is to choose what you want to engrave, opting for some example images made available by the software or the Creation mode, from which we can insert texts by customizing the font style as well as being able to create a barcode or a QR Code, starting from a text. Imagine the amazement of engraving a QR Code that refers to your website on the peel of an apple… cool right ???
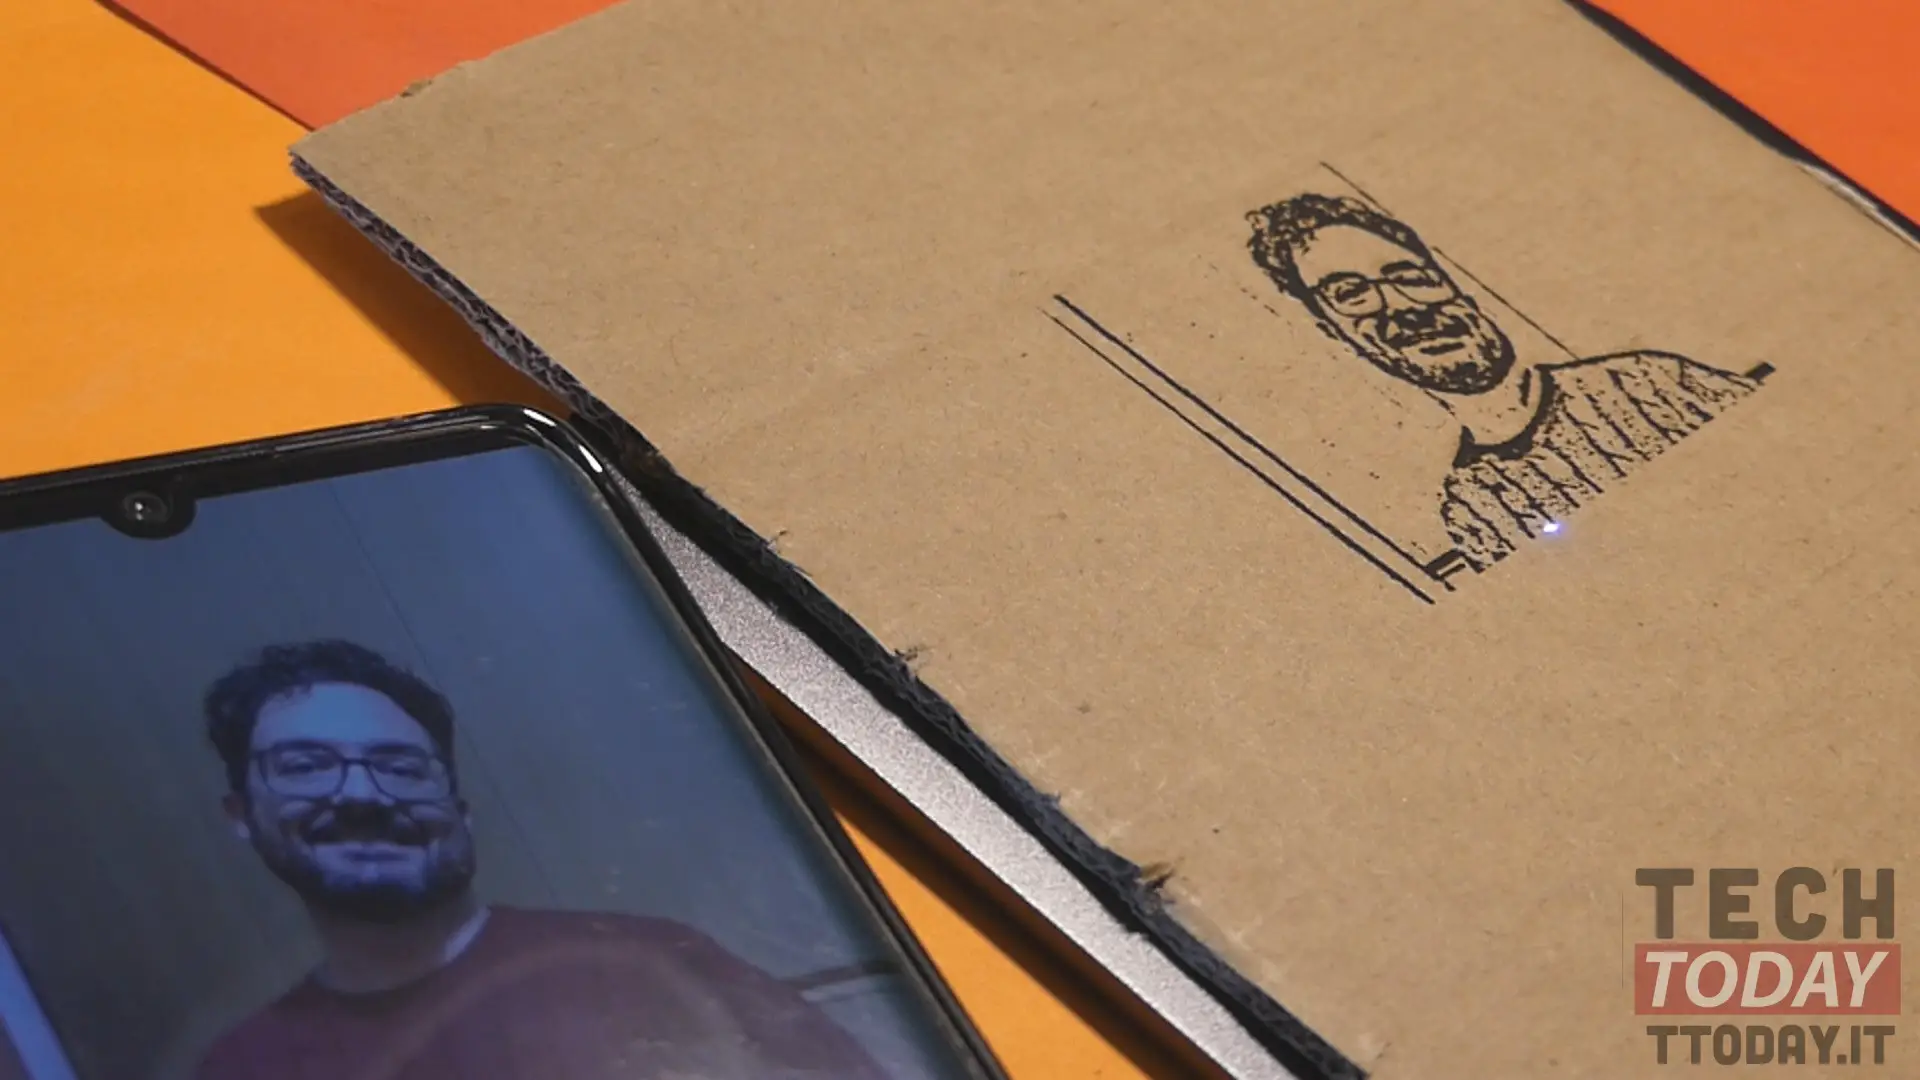
However, we can also decide to engrave a photo / image that you can always customize according to some styles that best suit the type of material chosen to be engraved. Basically the image will be stylized in a high contrast black and white version and then apply the style as Pencil (a kind of pencil sketch), G-Code (image composed of lines), Bin (light / dark), Gray (grayscale), Seal (inversion of colors on white / black tones).
Once you have chosen the engraving style you can also make cuts to the image, insert text (non-customizable font) or delete some parts of the image. After these steps you can define the size of the incision by entering the value of the longest side expressed in mm (maximum 100 mm - minimum 1 mm) and assign a name to the project, but you can also view a sort of preview, that is the LaserPecker L1 Pro it will start through the very low intensity laser beam to delimit the perimeter of the area to be engraved so that you can center the object with respect to what you want to impress in the material.
Once everything suits you, before starting the engraving process, you will need to select the type of material, the laser power and the engraving depth. At the beginning you will have to do some tests and maybe sacrifice objects and materials, to obtain perfect results, considering that the value of the engraving depth depends on the thickness of the material (high values for greater thickness) while the value of the laser power also depends on the coloring of the material (generally higher values are better suited to light colors). As mentioned before, the software already provides engraving presets based on the type of material chosen, but the values can be changed as well as choosing the number of steps that the laser will have to make on the engraving surface, in order to scale more image and make it better visible. Once the preliminary operations have been completed, the application will begin to transfer the image / text to be engraved to the internal memory of the LaserPecker L1 Pro and this will not force you to keep the connection with the smartphone active. Useful for example if a certain incision requires considerable time: at this point you are free to leave the scene and do other things, even leave the house to go shopping, although it is always recommended to use in presence.
Once the engraving has started, we can view from the app the action time, the percentage of progress as well as pause or finish the job. It must be admitted that the laser is very precise and follows the incision path to the micron (precision of 0,15mm), which in fact "burns" the surfaces and therefore could generate small fumes and stinks, therefore in addition to the fan and protective glasses (to be used always), it is better to use it in well-ventilated environments because the smell of burning could be strongly felt. I haven't mentioned it yet, but in terms of security, the software unlocks the engraver's functions only by means of a password you have chosen during the initialization phase of the product.
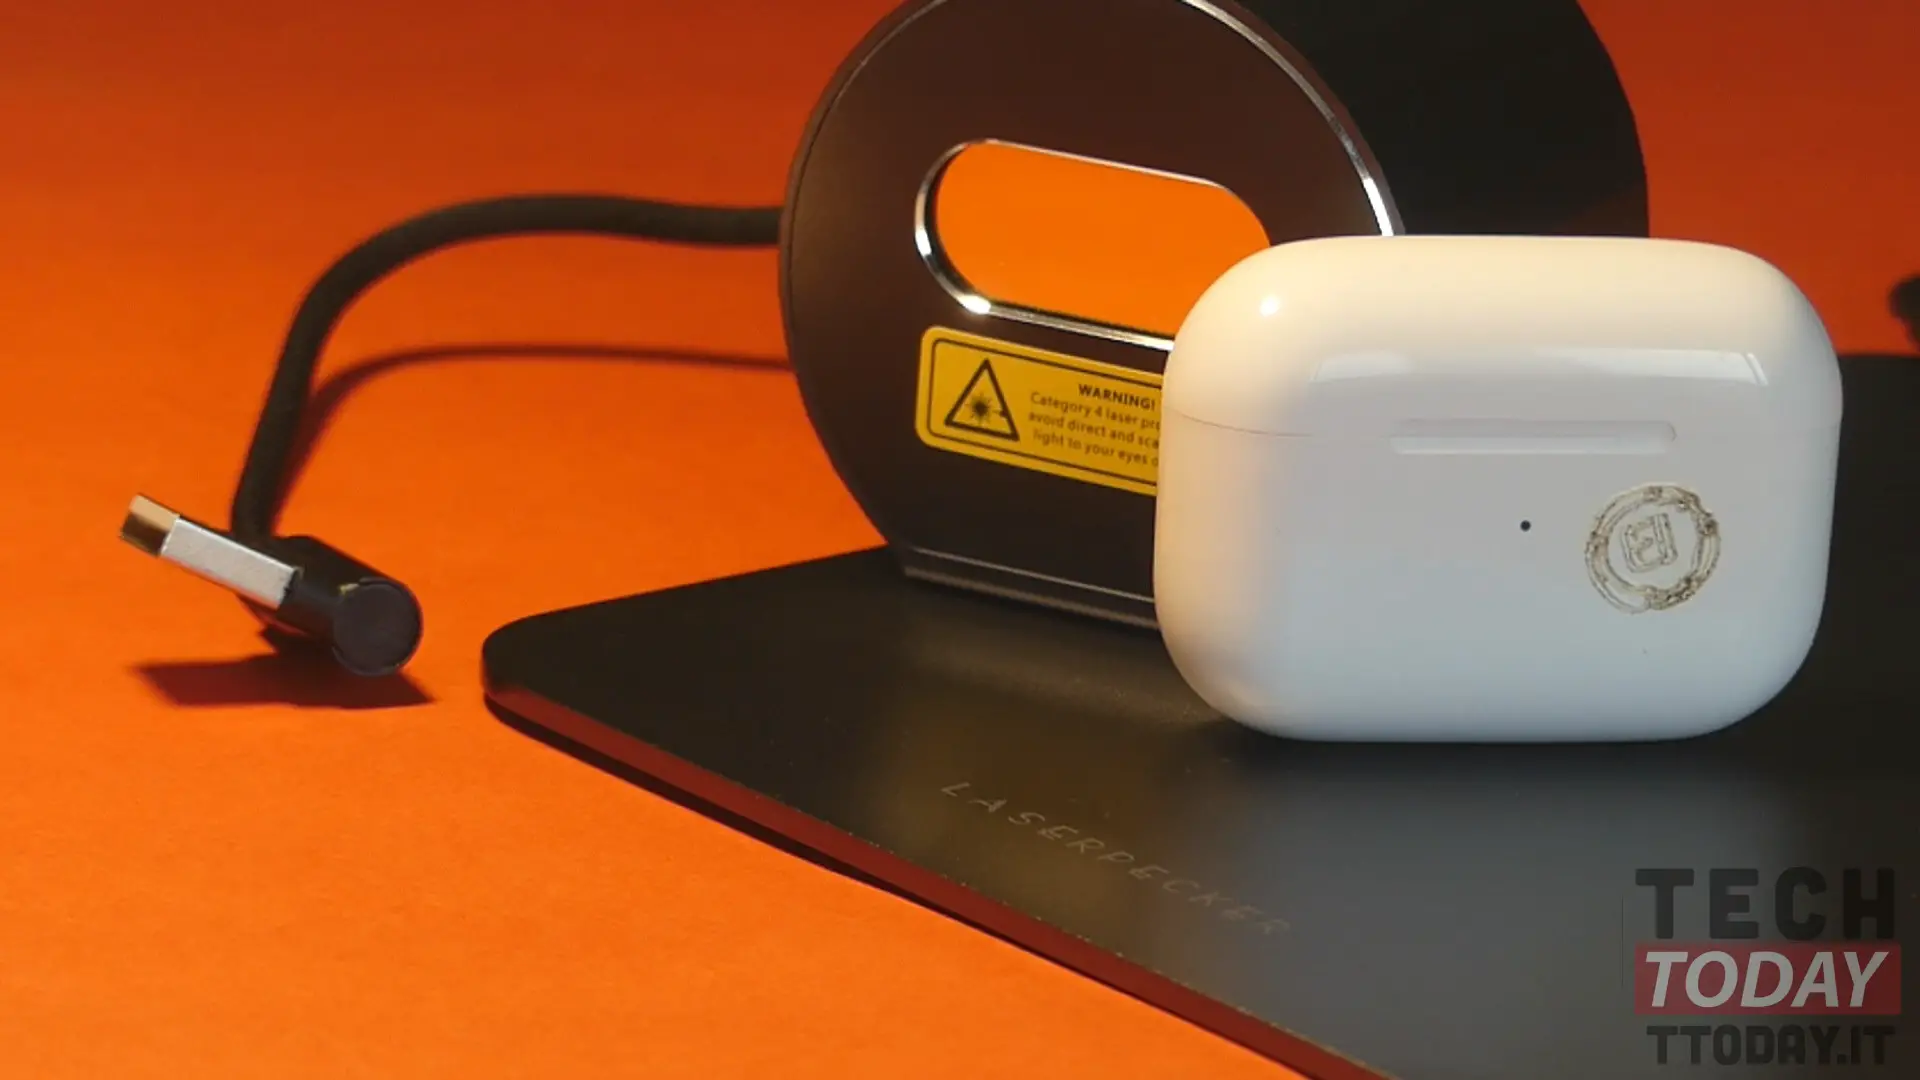
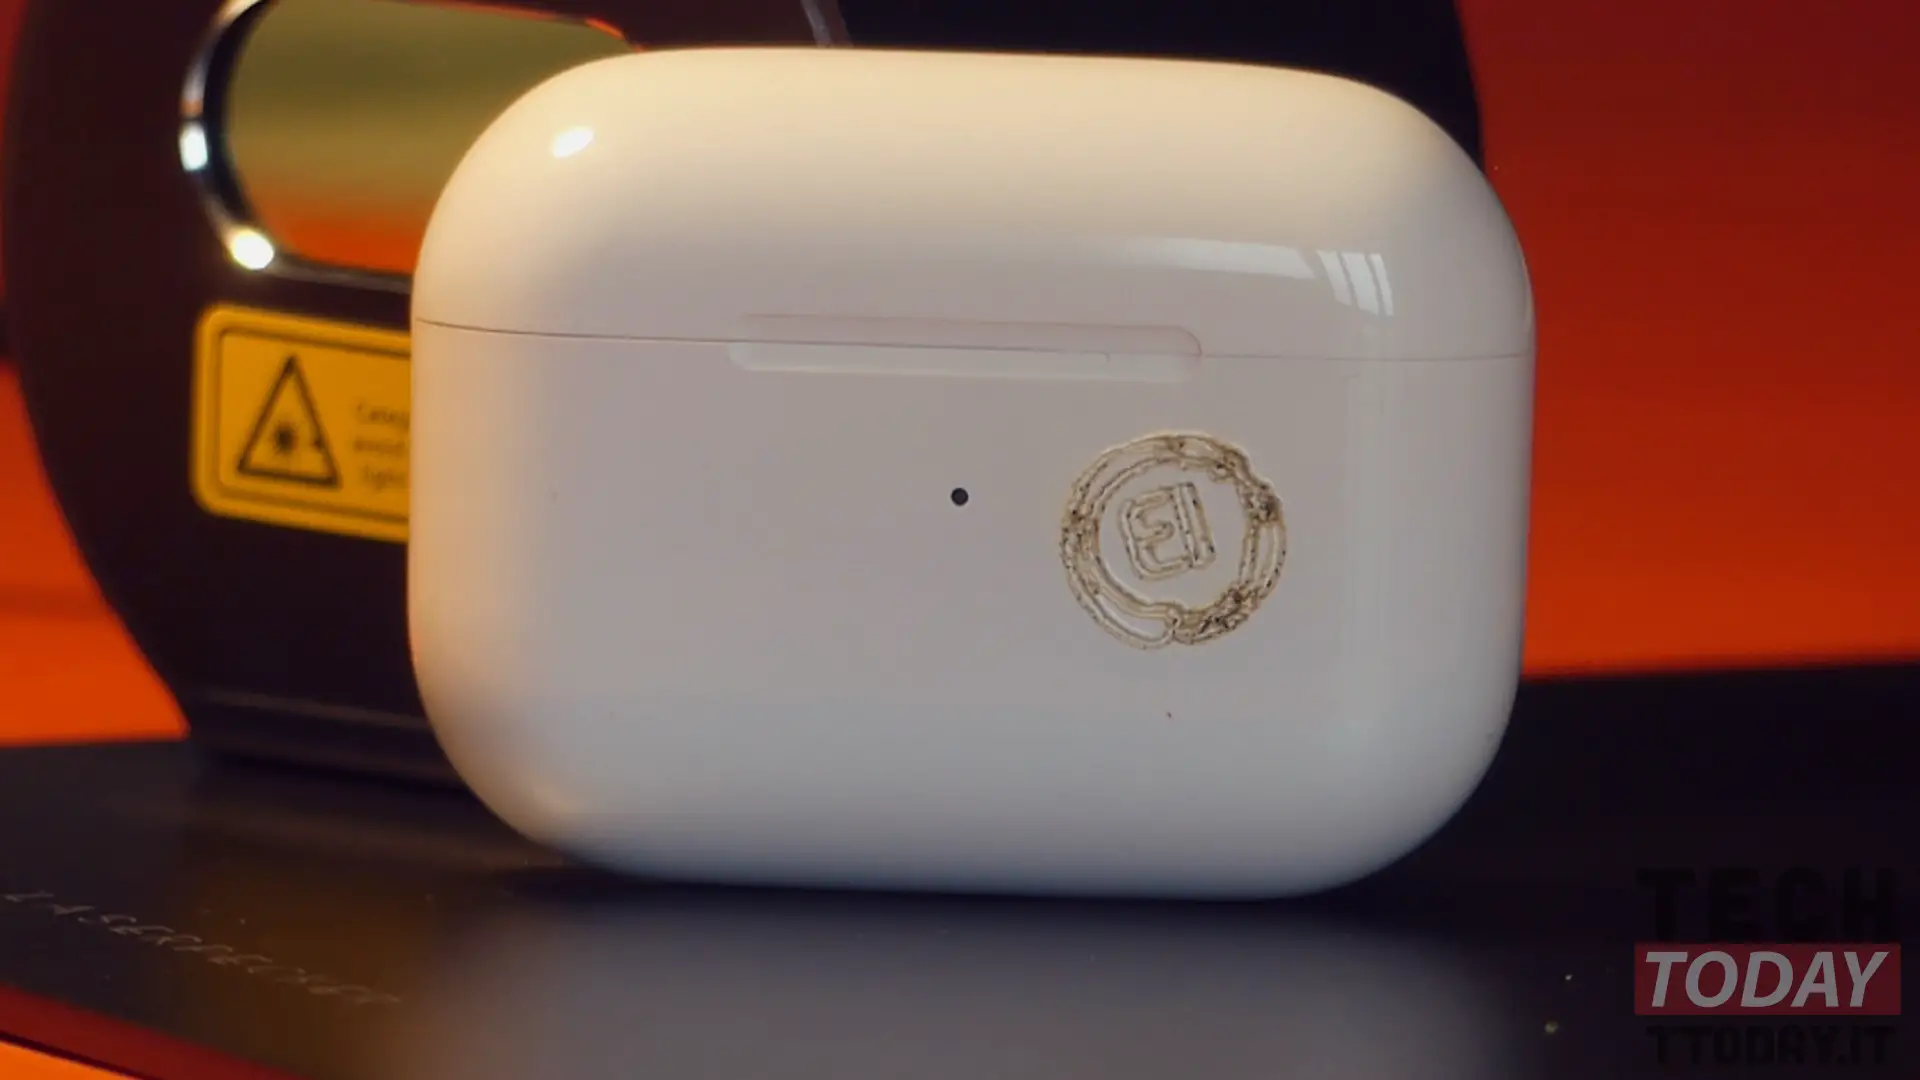
Apart from that, the result obtained depends a little on experience but almost always also on the imagination of what we want to engrave, which is the only limit of this product. We can engrave our logo on the case of our AirPods Pro, or engrave your name on the back of a T-Shirt, a QR Code engraved on a piece of wood in the shape of a heart that refers to the link of a love poem, customize diaries and notebooks, stamp your signature on objects and much more. Furthermore, the end of the work will be signaled by an acoustic warning.
PROJECTED IMPACT
At the moment the complete LaserPecker L1 Pro kit is priced around 374 euros through a dedicated coupon, which may seem excessive for those like me, who until now did not know this type of product. Yet this is one of the cheapest prices for this category of gadgets, which for those who really need it or simply want to give it up, we can therefore define it as a real bargain if we begin to analyze the solutions proposed by the sector.
A product that in a certain sense remains a niche that once tried it awakened the nerd that lies in my depth, but there are many users who love all-round customization, or users who cultivate hobbies such as creating objects in wood. Thanks to this gadget they can embellish their works with decorations or simply sign their works and then the ease of use as well as portability, makes this LaserPecker L1 Pro an object of desire that is almost perfect.